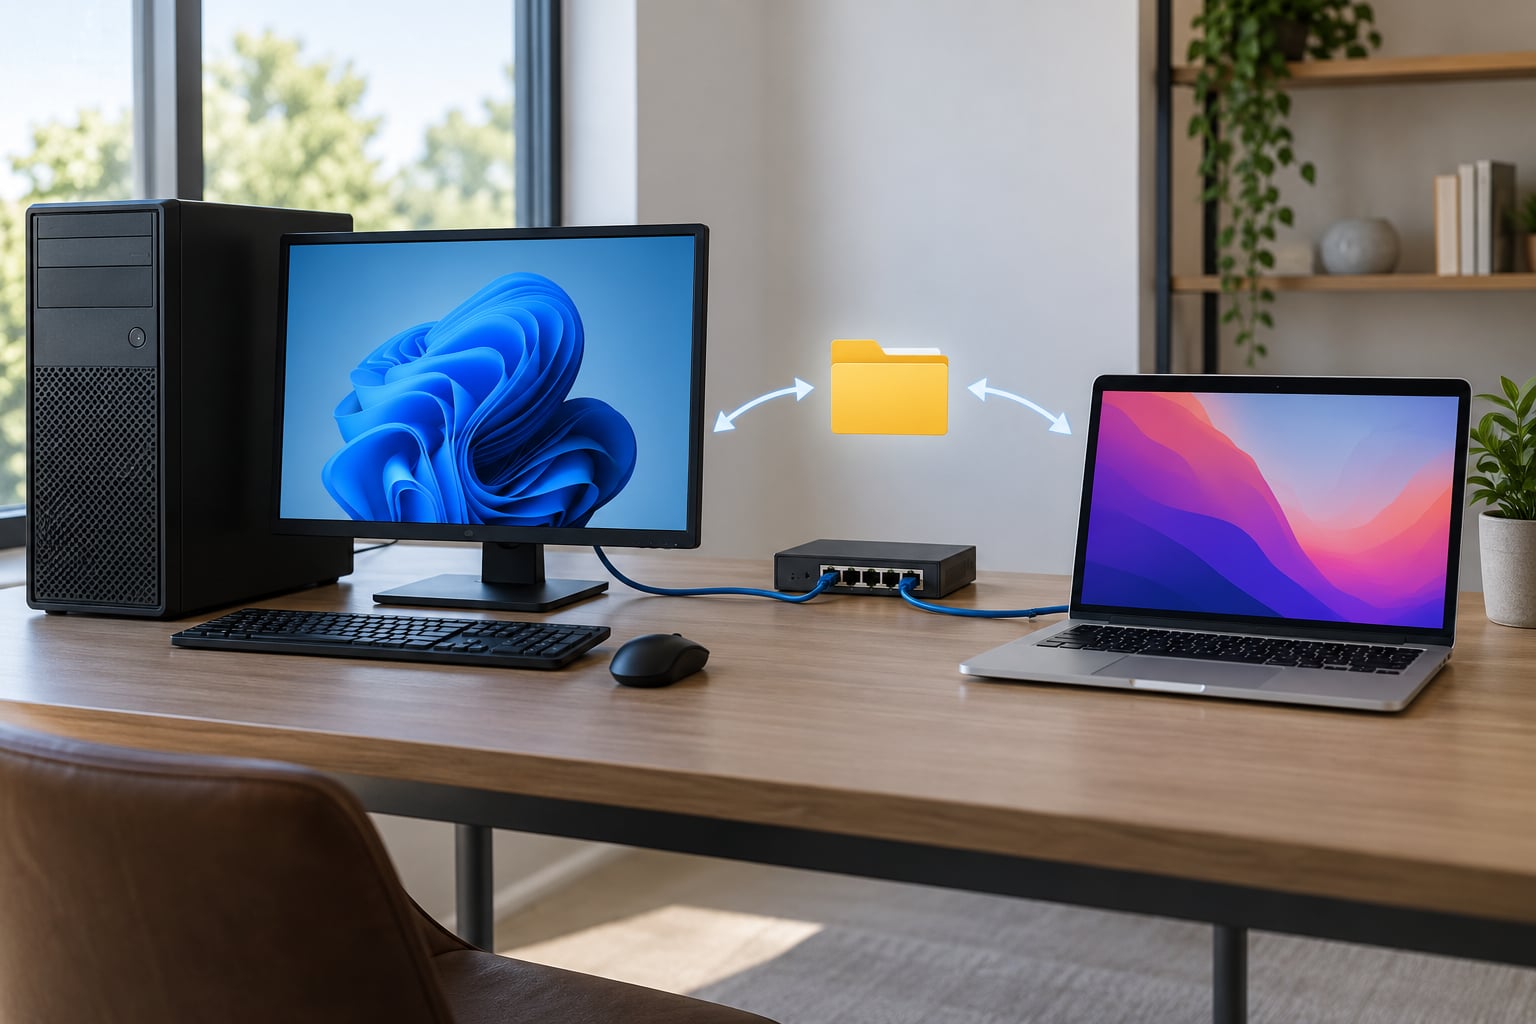
The fastest way to transfer files between Mac and Windows on the same network is to turn on SMB file sharing on one machine and connect to it from the other. Windows shares a folder, the Mac opens it through Finder > Go > Connect to Server using an smb:// address, and you drag the files across. No cloud upload, no USB drive, and no internet connection required.
The whole thing takes about ten minutes on Windows 10 or 11 and macOS 13 or later, and the steps below name the exact menu paths for each version. Whichever computer you share from becomes a small file server for as long as it stays awake and switched on.
Table of Contents
- 1What You Need
- 2Step-by-Step: How to Transfer Files Between Mac and Windows on the Same Network
- 31. Put Both Computers on the Same Private Network
- 42. Share a Folder on the Windows Computer
- 53. Connect from the Mac Using the Windows IP Address
- 64. Transfer Files Between Mac and Windows and Verify Them
- 75. Disconnect the Share Safely
- 8Common Mistakes
- 9“The network path was not found” or error 0x80070035
- 10Finder says “You do not have permission to open” or “The server is unavailable”
- 11The Mac shows up in Explorer but connecting throws an error
- 12The IP address keeps changing
- 13Both machines are on Wi-Fi but nothing connects
- 14The folder appears but files will not open
- 15Frequently Asked Questions
- 16Can I transfer files from a Mac to a Windows PC without the internet?
- 17Does this SMB sharing method work on Windows 11 Home?
- 18Why can’t my Mac find the shared Windows folder?
- 19What happens if the Windows computer’s IP address changes?
- 20What is the easiest way to transfer very large files between a Mac and Windows PC?
- 21Conclusion
What You Need
Before anything else, check off these five things. Most failed transfers come down to the first two.
- Both computers on one network. The same Wi-Fi network or the same Ethernet switch. Guest Wi-Fi does not count, because guest networks normally isolate clients from each other.
- A private network profile on Windows. Public networks block file sharing at the firewall. Windows usually sets this automatically when the network is your own router.
- Administrator access on both machines. You need it to turn sharing on and to add users to a folder’s permissions.
- A password on the account you plan to share from. SMB will not accept an account without one.
- The files to move. Nothing else, and no internet access. A router with no upstream connection works fine.
One quick note on AirDrop: it is the obvious choice for Mac to Mac, and it does not exist on Windows. There is no AirDrop Mac to Windows equivalent, which is exactly why SMB is the answer here.
Step-by-Step: How to Transfer Files Between Mac and Windows on the Same Network
1. Put Both Computers on the Same Private Network
Connect the Mac and the Windows PC to the same Wi-Fi network, or plug both into the same router with Ethernet cables. If the Windows PC shows a banner saying you’re on a public network, click it and choose Network and Internet > Wi-Fi > your network name > Network profile type > Private.
Here is how to confirm both machines actually see each other before you start sharing anything:
- On the Mac, click the Wi-Fi icon in the menu bar and check which network is ticked.
- On Windows, open Settings > Network & Internet > Wi-Fi and read the network name at the top.
- Both names should match exactly. A network called MyHome and MyHome-5G are two different networks.
If they match, open the prompt on the Mac and run ping followed by the Windows IP address you are about to look up. Replies coming back mean the two machines can talk directly, which rules out the router as the problem before you start.
2. Share a Folder on the Windows Computer
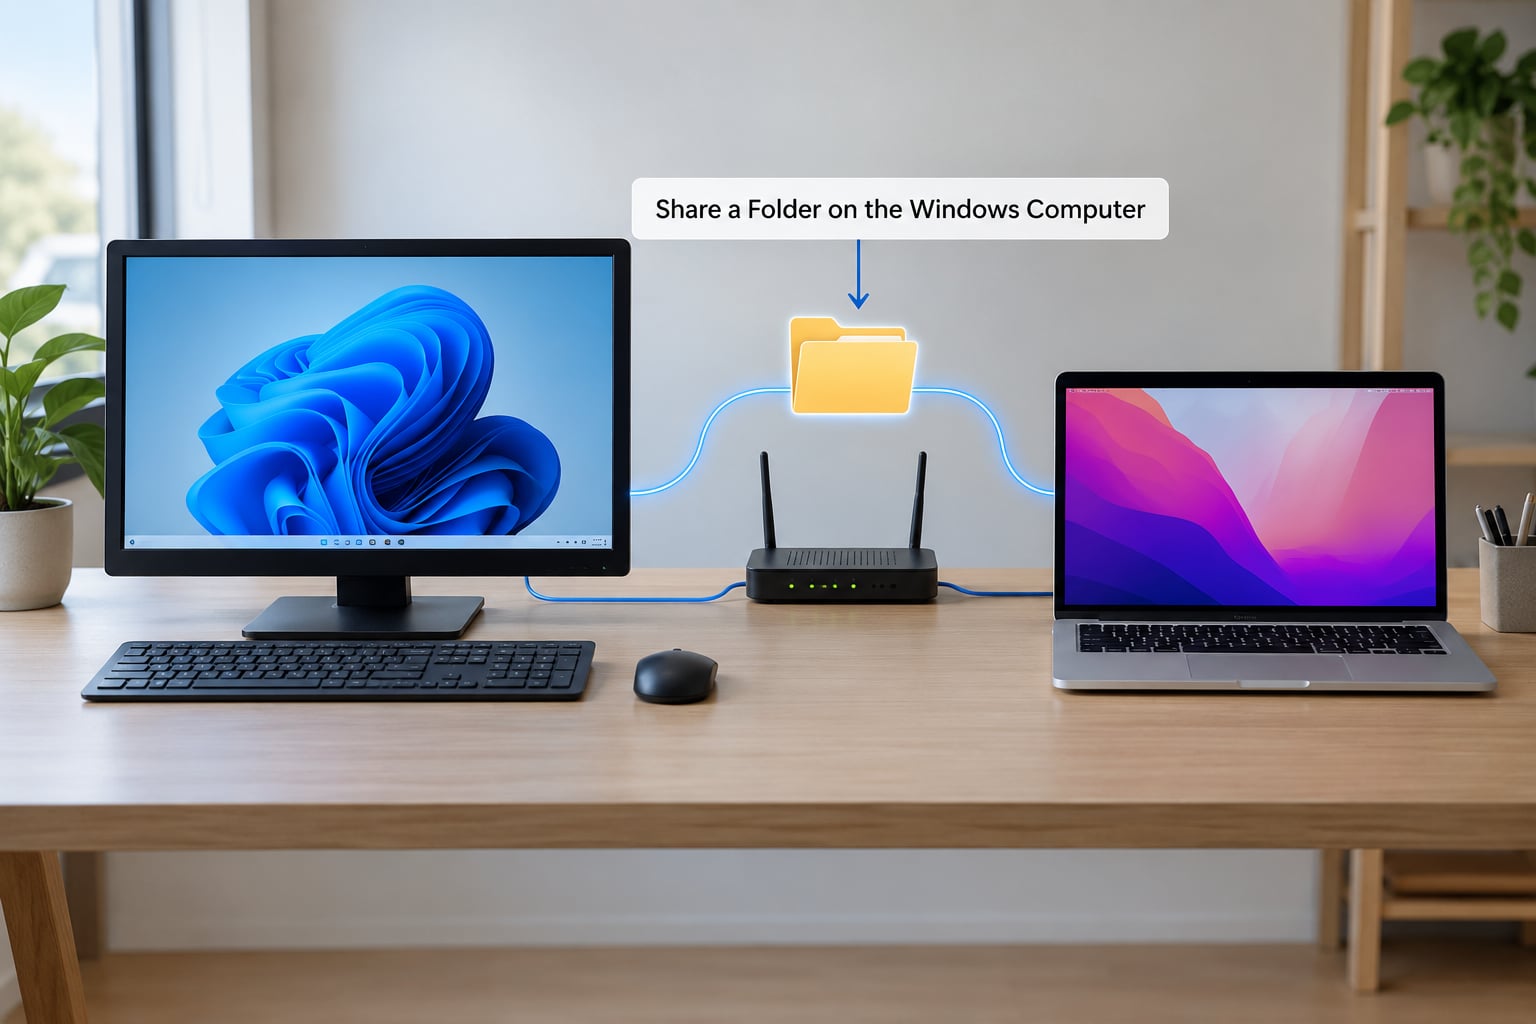
Sharing from Windows is the most common direction, because most people are moving files onto a PC. Create the folder first if it does not exist, right-click it, choose Properties, then open the Sharing tab and click Advanced Sharing.
Tick Share this folder, give it a share name with no spaces (Spaces in share names are a common cause of failed connections), and set the number of simultaneous users to something sensible. Under Permissions, click Add and add the specific Windows user account you want, then tick both Read and Write for that account.
Resist the Everyone option. It hands read access to every device on the network, and on a shared office Wi-Fi that is more people than you intended.
Now open the Security tab on the same Properties window. Windows shares and NTFS permissions are two separate layers, and the folder has to allow the account at both. Under Group or user names, select the user and tick Modify at minimum.
You will know it worked when you open File Explorer, right-click This PC, choose Map network drive, pick a letter like Z:, set the Folder to the share path, and tick Reconnect at sign-in. If Windows can map it, the share is live.
3. Connect from the Mac Using the Windows IP Address
Find the Windows IPv4 address first. On Windows 11, open Settings > Network & internet > Wi-Fi, click the network name, and read IPv4 address under the properties section. On Windows 10, open Command Prompt, type ipconfig, and read the IPv4 Address line under your Wi-Fi or Ethernet adapter.
On the Mac, open Finder, click Go in the menu bar, then Connect to Server. Type smb:// followed by that address, for example smb://192.168.1.24, and press Return.
You can use the computer name instead of the number if you prefer, as in smb://DESKTOP-ABC123, but IP addresses survive name changes and DHCP reassignments, so the number is the safer default.
Next comes the credential prompt. Choose Registered User rather than Guest, then enter the Windows account short name, which you can find in Settings > Accounts > Your info, along with that account’s password. If it works, the shared folder appears in the Finder sidebar under Locations and on your desktop.
4. Transfer Files Between Mac and Windows and Verify Them
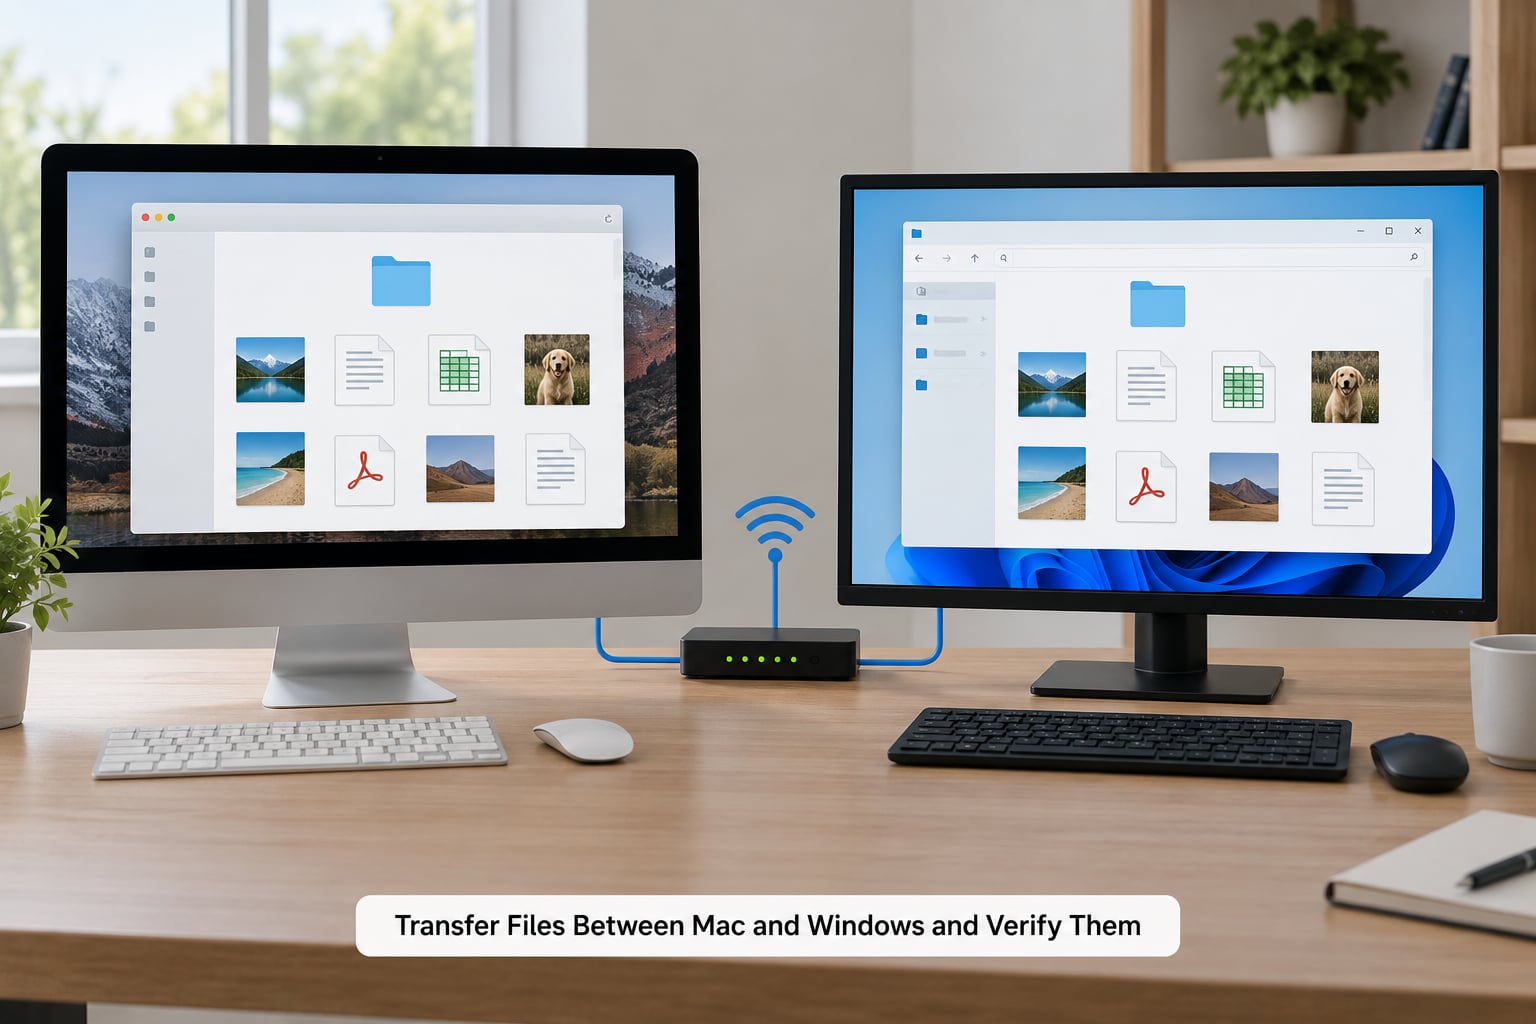
Open the mounted share and copy files the way you would from any drive: select them, press Command-C, switch to a local folder on the Mac, and press Command-V. Dragging into the share works too, and that direction copies the files onto the Windows PC.
The difference matters more than people expect. Dropping a file into the shared folder copies it to the Windows machine, while editing a file that already lives there changes it in place on Windows. Word and Excel also leave temporary lock files in the folder while a document is open, so close files on one machine before opening the same file on the other.
Verify rather than assume. Open the transferred file on the machine that received it and check that it is complete and usable, particularly for anything over a few gigabytes. A video that plays through to the end is a better integrity check than the file size in the folder listing.
5. Disconnect the Share Safely
On the Mac, click the eject icon beside the share in the sidebar or next to the desktop icon. Pulling the connection down cleanly avoids half-copied files and a share that later reappears asking for credentials again.
On Windows, right-click the shared folder, choose Properties, open the Sharing tab, click Advanced Sharing, then untick Share this folder. Or go to Computer Management (Local) > Shared Folders > Shares and delete the entry. Removing folder access does not delete a single transferred file. Nothing is removed from the Windows machine or from the Mac.
Common Mistakes
Nearly every failure on this list is one of five things: a wrong address, a firewall in the way, an account without permission, a network that isolates clients, or a password that does not match.
“The network path was not found” or error 0x80070035
Windows cannot reach the share at all. Almost always this means the IP address is wrong, the Windows PC is asleep or off, or the two machines sit on different subnets. Re-check ipconfig and type the address fresh.
Finder says “You do not have permission to open” or “The server is unavailable”
The share exists but the sign-in failed. Use Registered User with the account short name and password rather than a Microsoft account email address, since the email form is often rejected. If it still fails, the account may be missing from the Windows Sharing permissions list entirely.
The Mac shows up in Explorer but connecting throws an error
This is a profile or firewall problem, not a sharing problem. Set the Windows network profile to Private, then check that Windows Defender Firewall allows File and Printer Sharing on private networks. It gets disabled quietly after a Windows update more often than people expect.
The IP address keeps changing
DHCP hands out a new address after a reconnect or a router restart. Set a static address on the Windows side: Settings > Network & internet > Wi-Fi > Hardware properties > IP assignment > Edit, then choose Manual and fill in an address inside your router’s range, commonly 192.168.1.x with a gateway of 192.168.1.1. Skip this on guest networks, which reset addresses on purpose.
Both machines are on Wi-Fi but nothing connects
Some routers enable client isolation, especially guest and mesh guest networks. Both machines must be on the main SSID. Plugging one into Ethernet usually confirms whether Wi-Fi is the culprit.
The folder appears but files will not open
The share mounted read-only. You granted Read under Sharing permissions but only Read under Security as well, or the account is a standard user without write rights on that folder. Update both permission layers and reconnect.
Two more practical points. Turn sharing back off when you finish, especially on a laptop you take to cafés, and use a dedicated non-administrator account for anything you leave open. For large files, a gigabit Ethernet connection between the two machines is dramatically faster than Wi-Fi, and a shared folder is the right tool for multi-gigabyte video rather than a browser-based uploader.
Frequently Asked Questions
Can I transfer files from a Mac to a Windows PC without the internet?
Yes, and it is the normal way SMB sharing works. Both machines only need to reach each other on the local network, which a router provides even with no upstream connection. Turn on File Sharing on the Mac, then connect from Windows with the UNC path in File Explorer. Nothing is uploaded anywhere.
Does this SMB sharing method work on Windows 11 Home?
Yes. Home edition can share folders over SMB just like Pro; it is network discovery in the old HomeGroup sense that no longer exists. Set the network profile to Private, share a folder through Properties u0026gt; Sharing u0026gt; Advanced Sharing, and connect from the Mac by IP address. Type the address rather than browsing for the computer.
Why can’t my Mac find the shared Windows folder?
Check four things in order: both machines are on the same non-guest network, the Windows PC is awake and not asleep, the IPv4 address you typed is current, and the Windows network profile is set to Private. Guest Wi-Fi isolates clients from each other, so a Mac and PC on the same guest network cannot see one another at all.
What happens if the Windows computer’s IP address changes?
The share stays, but any address you saved will stop resolving. Two options: reconnect using the computer name instead of the number, or reserve a static address on the Windows machine through Settings u0026gt; Network u0026amp; internet u0026gt; Wi-Fi u0026gt; Hardware properties u0026gt; IP assignment u0026gt; Edit. The second is better if you plan to transfer regularly.
What is the easiest way to transfer very large files between a Mac and Windows PC?
Use the SMB share and copy through Finder. It streams from disk to disk with no upload step and no size cap, so a 40 GB video moves at LAN speed. For files above a few gigabytes, plug both machines into Ethernet rather than Wi-Fi. Browser-based transfer pages and many chat apps cap file size or throttle large uploads.
Conclusion
Start by confirming both computers sit on the same private network, not a guest one. Then share a single folder on the Windows machine, note its IPv4 address, and open it on the Mac through Finder > Go > Connect to Server using smb:// followed by that address. Give access to one named account with read and write rights rather than Everyone, and turn sharing off again once the files have moved.