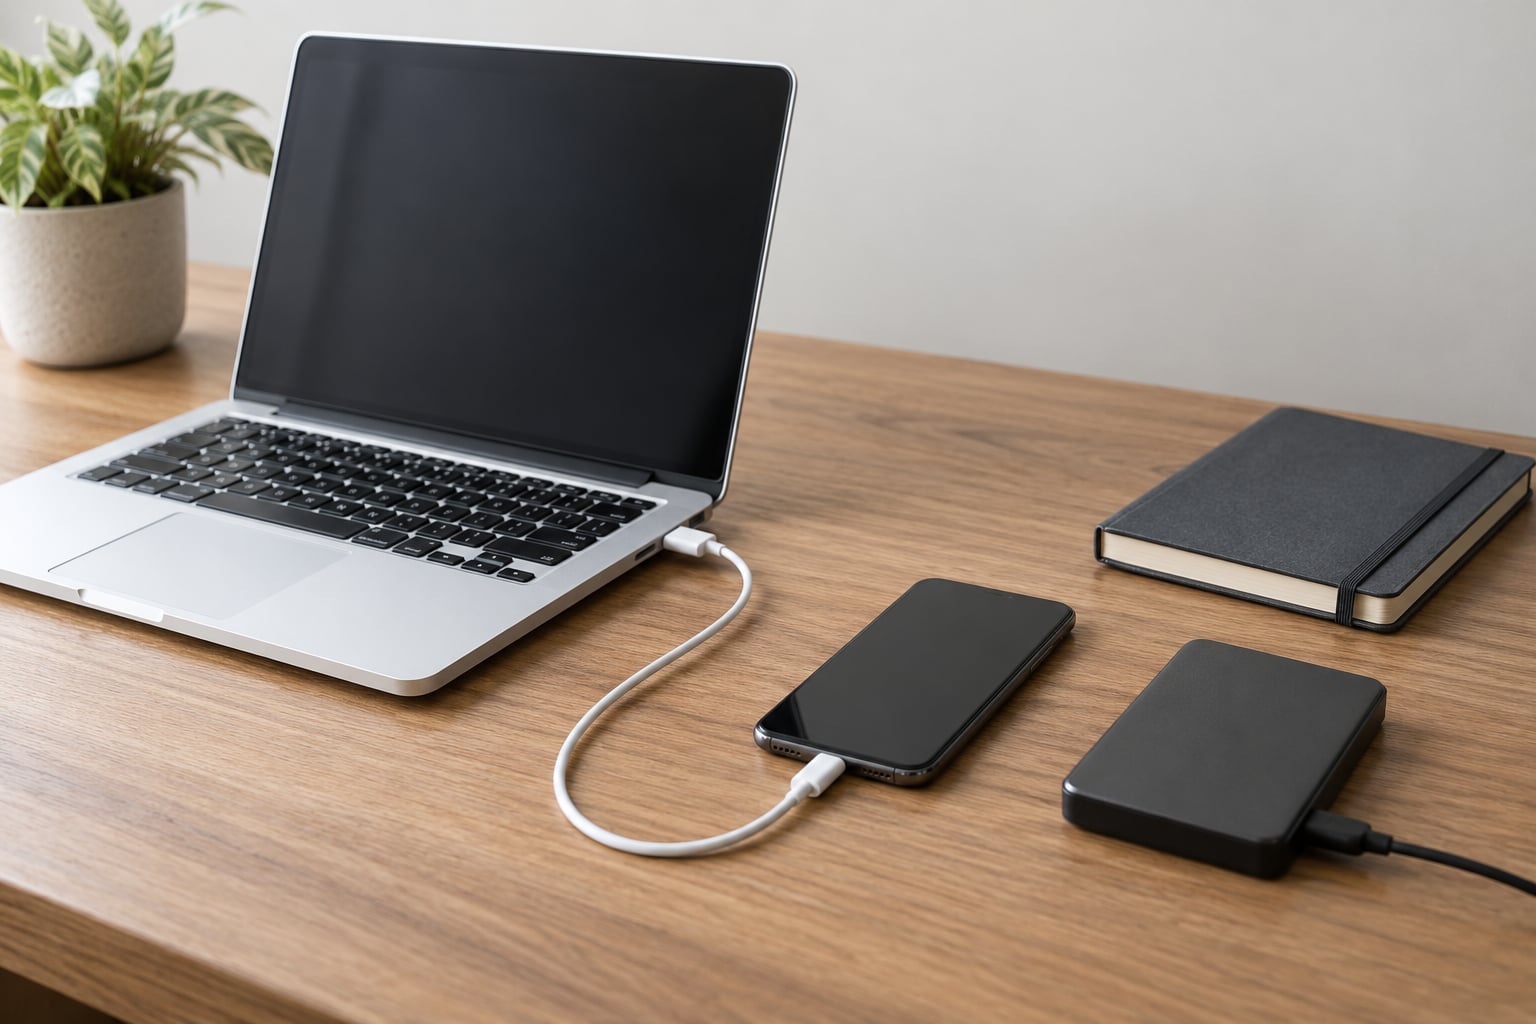
To back up an iPhone to a computer, you connect the phone with a USB cable, unlock it, tap Trust This Computer, and press Back Up Now inside Finder on a Mac or the Apple Devices app on Windows. The whole job takes five minutes of setup and however long the copy takes — usually a few minutes for a phone that has been backed up recently, longer for a first full backup. No third-party software and no paid tool is required.
Most of the difficulty is not the backup itself. It is knowing which app to open, whether the phone was actually recognized, and where the finished file lives afterwards. This guide walks through every path: recent Macs, older Macs, current Windows, and the legacy Windows fallback that some people still need.
If your main goal is getting photos and messages off the phone rather than a restorable copy of the whole device, jump to the photo-only section near the end. A full backup is not the same thing as transferring pictures, and picking the wrong one wastes an afternoon.
Table of Contents
- 1What You Need
- 2Step-by-Step: How to Back Up an iPhone to a Computer
- 3Step 1: Back Up Your iPhone Using Mac Finder
- 4Step 2: Back Up Your iPhone Using iTunes on an Older Mac
- 5Step 3: How to Back Up an iPhone on Windows 10 or 11
- 6Back Up with iTunes on older Windows
- 7Step 4: Verify and Protect the Backup
- 8Common Mistakes
- 9How to Keep a Second Copy of Your iPhone Backup
- 10Local iPhone Backup vs. iCloud Backup
- 11Getting photos off the iPhone without a full backup
- 12When Should You Back Up Your iPhone?
- 13Frequently Asked Questions
- 14Can I back up my iPhone to a computer without iCloud?
- 15What is the difference between an iPhone backup and a sync?
- 16Should I encrypt my iPhone backup on a computer?
- 17Where are iPhone backups stored on Mac and Windows?
- 18Can I restore an iPhone backup to a different computer?
- 19Conclusion
What You Need
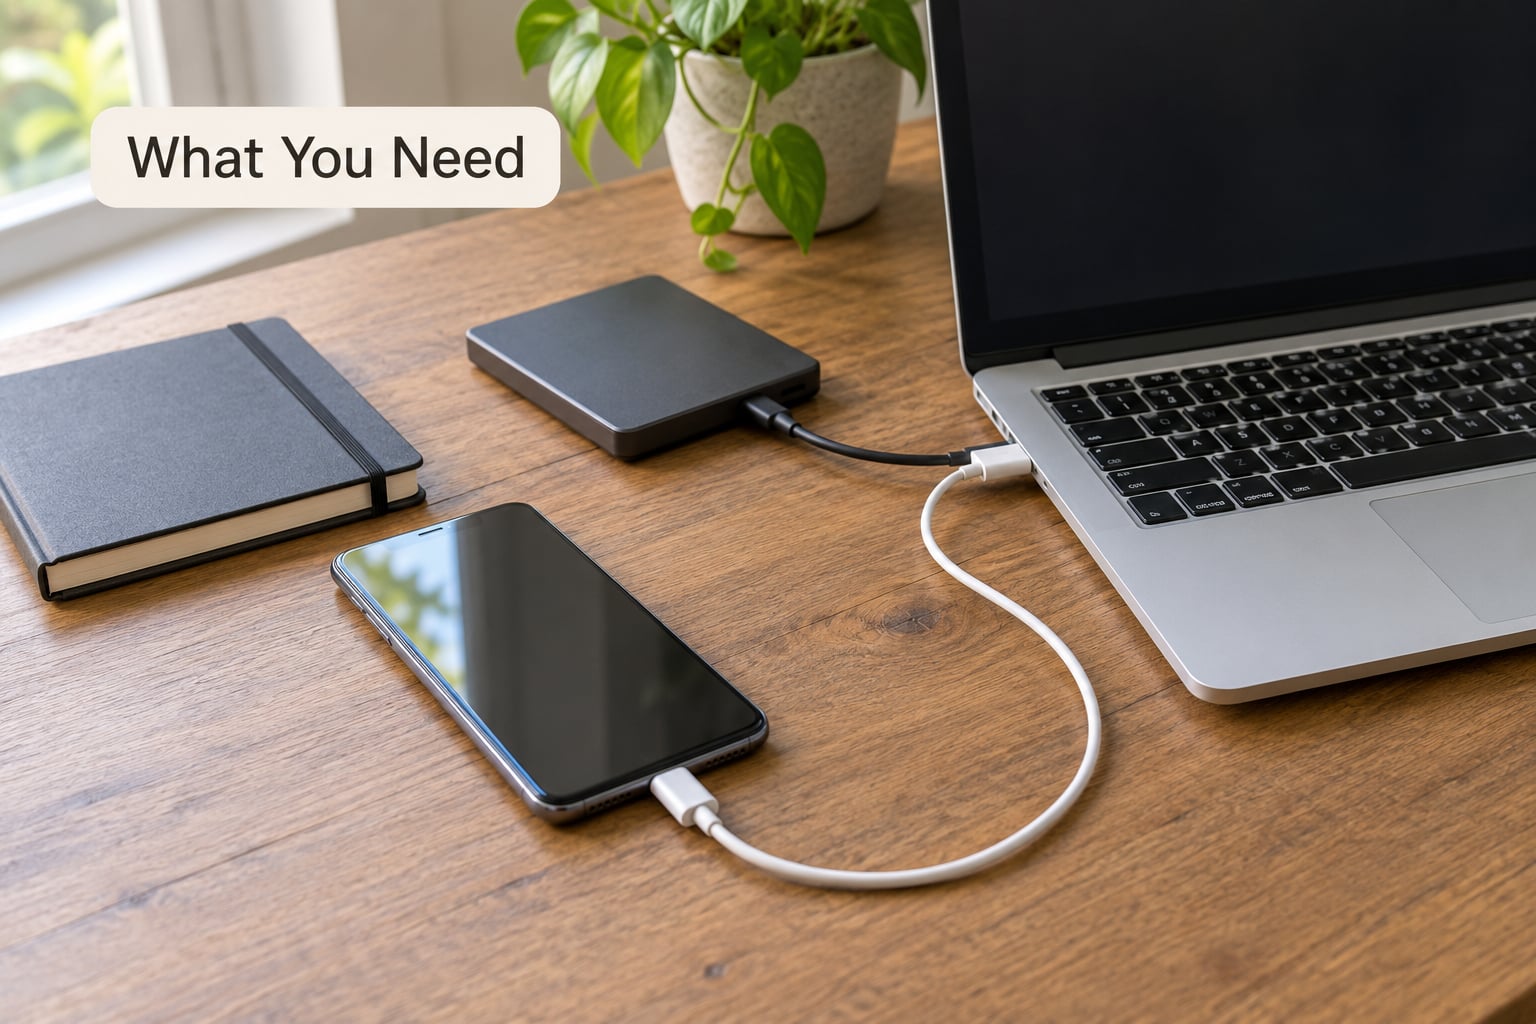
You need four things, and only one of them is easy to get wrong.
- A computer. A Mac running a recent macOS, or a Windows 10 or Windows 11 PC. Older Macs and older Windows builds take a slightly different path described below.
- A cable. A USB-C to Lightning cable for older iPhones, or a USB-C to USB-C cable for iPhone 15 and later. Many cheap cables charge but carry no data, which is the number one reason a backup never starts.
- Free space on the computer. A full backup of a phone with a lot of photos can run to well over 100 GB. Windows will not run out of room mid-backup without failing, but the failure is confusing, so check first.
- The iPhone passcode. iOS requires the phone to be unlocked and paired with the computer before any backup can start.
It also helps to know the difference between the two kinds of backup before you start.
A local backup is a folder of files on the computer you plugged into. You made it, you own it, and it never touches Apple’s servers.
An iCloud backup is stored on Apple’s servers and is tied to your Apple Account. Both are legitimate. Many people keep one of each, because neither covers the other’s failure mode.
Step-by-Step: How to Back Up an iPhone to a Computer
Follow the path that matches your setup. Each one ends the same way: a dated backup folder on the computer that you can point to later.
Step 1: Back Up Your iPhone Using Mac Finder
Finder has handled iPhone backups since macOS Catalina, and it is the only supported route on a current Mac. iTunes for Mac was discontinued years ago and no longer receives updates.
- Update the Mac and the iPhone. On the Mac, open System Settings, then General, then Software Update. On the iPhone, open Settings, then General, then Software Update.
- Connect the iPhone to the Mac with the USB cable and unlock it.
- Tap Trust This Computer on the iPhone, then enter the passcode. This prompt appears again if you ever reset the phone or use a different computer.
- Open Finder and click your iPhone in the sidebar under Locations.
- Move to the Backups tab and choose which drive the backup goes to. Keep the default unless your internal drive is nearly full.
- Tick Encrypt local backup. Apple asks you to set a password, and that password cannot be recovered by anyone, including Apple.
- Click Back Up Now and keep the iPhone connected until the progress bar finishes.
Finder reports success the same way every time: the Back Up Now button changes to show the exact date and time of the most recent successful backup. Read that line rather than assuming the click worked, because an interrupted backup can leave an older date sitting there.
Encryption is worth turning on. It protects your Health data, activity history, Wi-Fi passwords and Apple Pay information, none of which go into an unencrypted backup. Write the password on paper and put it somewhere you will actually find it in five years.
Step 2: Back Up Your iPhone Using iTunes on an Older Mac
If your Mac cannot run a recent macOS, iTunes is the fallback. This path also applies to Macs where Finder does not show a Backups tab.
- Open iTunes from the Applications folder. If it is missing, download the iTunes version Apple still offers for older Macs and install it before connecting the phone.
- Connect and unlock the iPhone, then tap Trust This Computer.
- Choose the iPhone icon in the upper-left corner of the iTunes window.
- Under Backups, choose This Computer and click Back Up Now.
- Tick Encrypt local backup if you want Health and password data included. The password dialog appears immediately, and there is no recovery path.
The Library section shows Date of last backup with a time and size. That line is the only confirmation that matters — if it still shows an old date, the backup did not run.
Once you have moved to a Mac with a recent macOS, Finder can read backups that iTunes created. You do not have to start over.
Step 3: How to Back Up an iPhone on Windows 10 or 11
Windows 10 and Windows 11 use the Apple Devices app, which replaced iTunes for device management. Users on r/iphone report it working for everyday backups, while others on the same forum have hit detection failures. If it will not cooperate, the iTunes steps underneath are the fallback.
- Open the Microsoft Store and install Apple Devices. It is free and published by Apple.
- Connect the iPhone with a USB cable and unlock it.
- Tap Trust This Computer on the phone and enter the passcode.
- Open Apple Devices and select your iPhone from the device list.
- Scroll to the Backups section and click Back Up Now.
- Leave the iPhone plugged in until the progress indicator stops. Unplugging early is the most common cause of a corrupt backup folder.
Click Back Up Now and keep your device connected until the process finishes. That single line is the whole task on Windows — everything above it is just permission to start.
Back Up with iTunes on older Windows
Windows versions that cannot run the Apple Devices app, and PCs where the app will not see the phone, fall back to iTunes.
- Install iTunes from the Microsoft Store or from apple.com/itunes.
- Connect and unlock the iPhone, then tap Trust This Computer.
- Click the small device icon at the top-left of the iTunes window.
- Choose This Computer under Local Backup.
- Click Back Up Now, and tick Encrypt local backup first if you want the Health and password data included.
Step 4: Verify and Protect the Backup
A backup you have not checked is a hope, not a backup. Three things confirm it worked.
First, the app must show a fresh date and time. Finder, iTunes and Apple Devices all print the last successful backup next to the device name.
Second, check the file on disk. On Windows, the backup lives at %APPDATA%Apple ComputerMobileSyncBackup — paste that into File Explorer’s address bar. On Mac, it is ~/Library/Application Support/MobileSync/Backup, hidden by default and reachable through Finder’s Go menu with Option held down.
Third, a backup folder should carry a date in its name and a size that reflects real data. An empty folder means the backup failed silently, which is common when the phone was locked mid-copy.
When you are done, disconnect the iPhone the normal way. Do not just yank the cable while a backup is running.
The backup stays encrypted or protected on the computer. Anyone with the folder and the password can restore it, which is why the folder is worth copying somewhere else.
Common Mistakes
Here are the failures that come up most often, and what actually fixes each one.
The computer charges the phone but never sees it. This is the most repeated complaint on the r/iphone forum, and it is almost always the cable or the port. Test with a second known-good cable, then try a different USB port directly on the computer rather than through a hub. Some front panel ports and unpowered hubs do not carry data at all.
The backup fails partway through. Check free space on the computer first, then close anything else writing to the drive. If the connection drops mid-copy, the partial folder is worthless — delete it and run a fresh full backup rather than trusting it.
You forgot the encryption password. There is no reset and no support path. If that happens, the encrypted contents are gone and you start a new unencrypted backup. This is why people write the password down instead of trusting their memory.
Your old backups vanished after a new iTunes install. Upgrading iTunes can reset settings and hide existing backups that are still sitting on disk. Do not reinstall repeatedly. Copy the MobileSync folder out first, then reinstall.
You deleted the backup folder while cleaning up the drive. A folder under MobileSync or Apple ComputerBackup that gets emptied is not recoverable from the app. Move backups out to an external drive instead of clearing space inside those folders.
You confused restarting a backup with restoring. A backup copies data off your phone. A restore puts data back onto a phone, usually wiping the current contents first. The two buttons sit close together in Finder and iTunes.
How to Keep a Second Copy of Your iPhone Backup
A backup living on one computer is one disk failure away from gone. Copying the folder elsewhere takes a minute.
- Quit Finder, iTunes or Apple Devices so nothing writes to the folder while you copy it.
- Copy the entire dated backup folder, not loose files from inside it.
- Paste it to an external drive or another protected location.
- Keep the encryption password stored separately from the drive.
Never move, rename or edit files inside a backup folder while it is in use. Finder expects an exact structure and a manifest file; a renamed or deleted entry makes the whole backup unusable.
This is also the answer to moving a backup to a new computer. Copy the folder to the same path on the new machine, install Apple Devices or iTunes, connect the phone, and the backup shows up as an option. Community advice on the forums is consistent on this point: copy first, attempt the restore second.
Local iPhone Backup vs. iCloud Backup
The two methods fail in different ways, which is the whole argument for keeping both.
| What differs | Local computer backup | iCloud backup |
|---|---|---|
| Where it lives | A folder on your PC or Mac | Apple’s servers, tied to your Apple Account |
| Connection needed | USB cable, or Wi-Fi once enabled | Wi-Fi or cellular, no computer at all |
| Speed | Faster over USB for large libraries | Slower, depends on your connection |
| Storage limit | Whatever free space your computer has | Tied to your plan |
| Encryption option | Yes, includes Health data and passwords | Always encrypted end to end |
| Lost Apple Account | Backup unaffected | Backup unreachable |
| Restore onto a new phone | Needs the original computer or a copy of it | Sign in and restore anywhere |
If you lose access to your Apple Account, the iCloud backup goes with it and the local one does not. If your computer dies, iCloud is still there and the local folder is not. That asymmetry is the reason to keep a local backup even when iCloud is running happily.
Getting photos off the iPhone without a full backup
Most people searching this question want pictures and videos, not a restorable device image. Those are different jobs.
On Windows, open File Explorer, choose your iPhone, then navigate to DCIM. Photos and videos appear in folders named by camera roll. Drag them across and delete them from the phone afterward if that was the goal. Nothing is backed up in the restorable sense — you are copying files, not restoring anything later.
A full backup plus a photo export is the combination many people settle on: the export for browsing, the backup for emergencies.
One thing a backup will not carry over is purchased media with DRM. Users on apple.stackexchange have found out the hard way that music bought through iTunes does not simply reappear on a new device or a new computer. App logins generally need signing in again. Both are normal, not signs of a broken backup.
When Should You Back Up Your iPhone?
Back up before anything that can go wrong, and on a rhythm if your phone holds a lot of irreplaceable stuff.
Before an iOS update. Large updates occasionally go sideways, and you want a restore point that predates the change. Some updates also require the phone to be on a newer iOS version first, which can block a backup you meant to take — back up before you start the update, not during.
Before you upgrade to a new iPhone. Set up the new phone, confirm it is working, then wipe the old one. Backing up and restoring wipes what is on the new phone.
Before trading in, selling, or handing the phone over. This is the step people skip and regret. Wipe last, verify last.
Before a repair. A screen or battery swap rarely touches data, but a device swap or a water damage incident can.
On a schedule if you shoot photos or run a business phone. Weekly is plenty for most people. Monthly for anyone whose messages and camera roll hold work they would miss.
Both Finder and iTunes can also be told to back up automatically whenever the phone is connected. It is a checkbox worth enabling, and it does not replace a deliberate backup before a big change.
Frequently Asked Questions
Can I back up my iPhone to a computer without iCloud?
Yes. A local backup made with Finder, iTunes or the Apple Devices app is stored entirely on your computer and never touches iCloud. You need an Apple Account to sign in on a new phone when restoring, but the backup itself, and the ability to copy it, never leaves your machine.
What is the difference between an iPhone backup and a sync?
A backup copies a snapshot of your data off the phone so you can restore it later. A sync mirrors ongoing changes in both directions, such as music or contacts, and can overwrite files on either side. Backups are safety copies; syncs are ongoing transfers. You want a backup before any upgrade, wipe or hand-off.
Should I encrypt my iPhone backup on a computer?
Usually yes. Without encryption, Health data, activity history, Wi-Fi passwords and Apple Pay information stay out of the backup entirely, so you may be losing more than you expect. With encryption, all of it is included and protected by a password that absolutely nobody, Apple included, can recover if you forget it.
Where are iPhone backups stored on Mac and Windows?
On Windows, paste %APPDATA%u005cApple Computeru005cMobileSyncu005cBackup into File Explorer’s address bar. On Mac, backups sit in ~/Library/Application Support/MobileSync/Backup, a folder hidden by default and reachable through the Go menu with Option held down. Each backup is its own dated folder containing a manifest and a set of numbered files.
Can I restore an iPhone backup to a different computer?
Yes. Copy the whole dated backup folder to the same location on the new computer before opening Finder, iTunes or Apple Devices, then connect the phone and choose the backup. This is the standard workaround when the original machine is gone, and it is why copying your backup to an external drive matters.
Conclusion
Start with the simple version: connect the unlocked iPhone to the computer with a data-capable cable, tap Trust This Computer, open Finder or the Apple Devices app, tick Encrypt local backup, and press Back Up Now. Then read the date the app prints back to you — if it is today, the backup worked.
Write the encryption password down somewhere safe, and copy the finished backup folder to an external drive before you need it. A backup you cannot locate is not really protection, and these two habits take about five minutes.