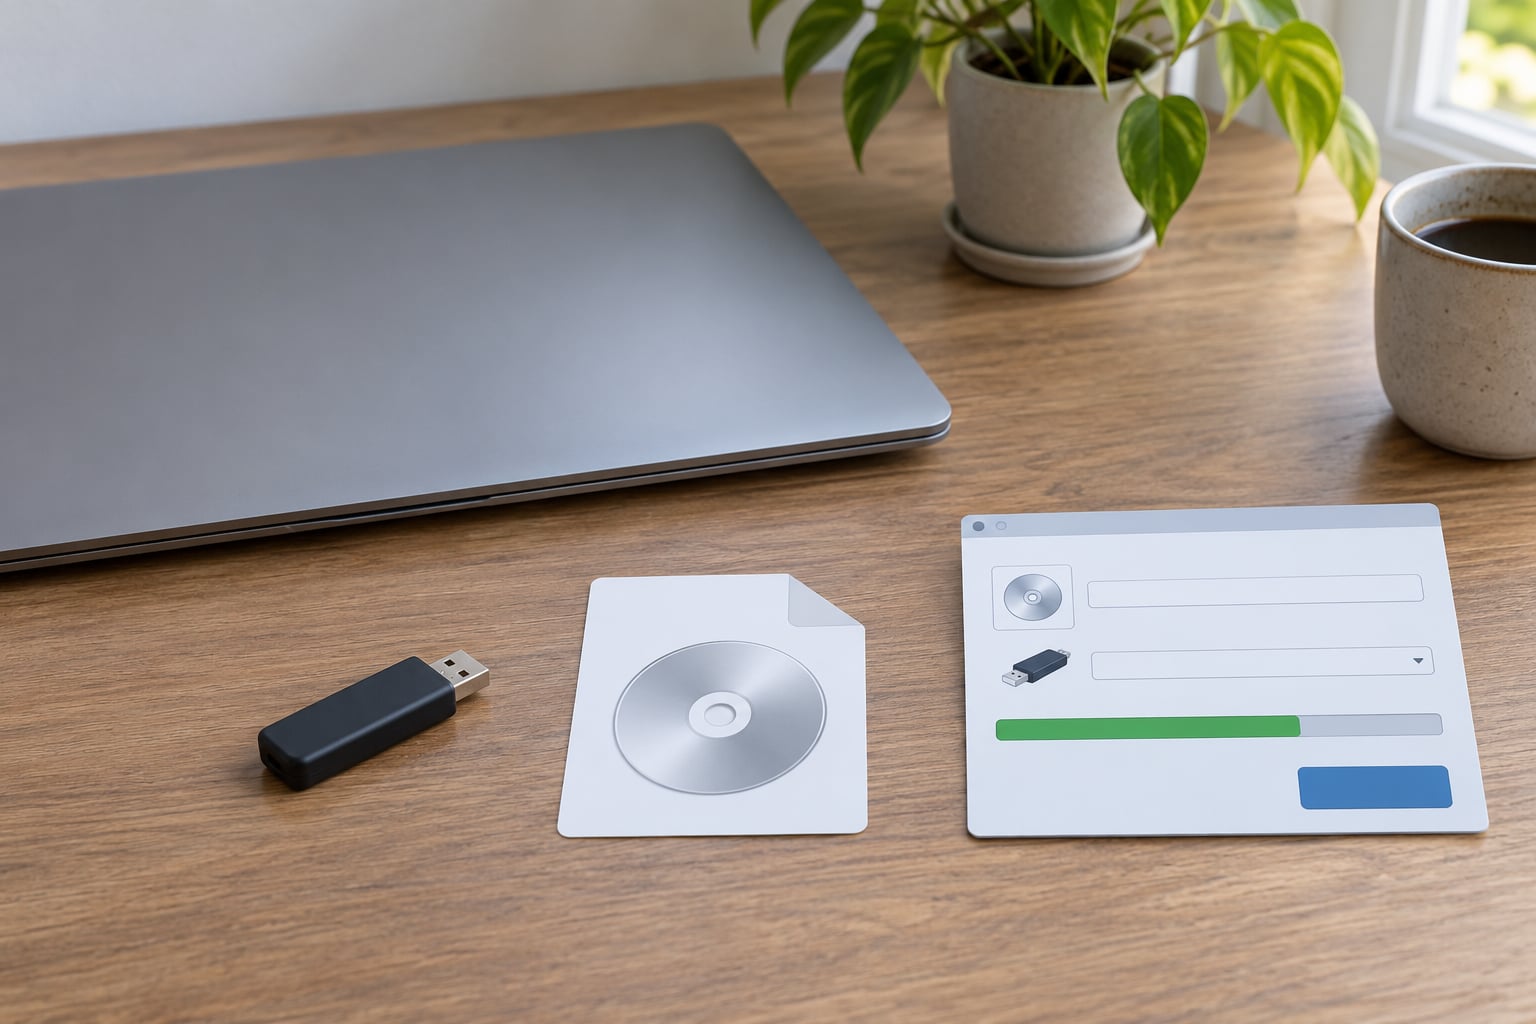
Learning how to create a bootable USB drive for Linux takes about ten minutes of writing time and a few minutes to boot it. You download a Linux ISO image, pick a writing tool like balenaEtcher, Rufus, Ventoy or the built-in dd command, and flash the image onto an empty flash drive — which wipes whatever was on that drive, so back it up first.
I have written this guide for people who have never touched a terminal, but I will show the dd version too, because it is the one that works on every Linux system with nothing installed. Pick the path that matches the machine you are sitting at.
Table of Contents
- 1What You Need
- 2The USB drive
- 3The Linux ISO
- 4A writing tool
- 5Before you write anything
- 6Step-by-Step
- 7On Windows: Rufus or balenaEtcher
- 8On macOS: balenaEtcher
- 9On Linux: balenaEtcher, Brasero or Ventoy
- 10Identifying the right drive with lsblk
- 11Writing the image with dd
- 12Verifying the drive actually boots
- 13Common Mistakes
- 14Writing to the wrong drive
- 15Corrupted downloads
- 16Secure Boot and UEFI versus legacy BIOS
- 17What to do after it boots
- 18Making a Windows installer from Linux
- 19Frequently Asked Questions
- 20Will creating a bootable USB drive for Linux erase the USB?
- 21Which USB drive works best for a Linux installer?
- 22Is Rufus better than balenaEtcher?
- 23Can I boot Linux from a USB drive without installing it?
- 24How do I save changes on a live Linux USB drive?
- 25Why does my computer not detect the bootable USB drive?
- 26Conclusion
What You Need
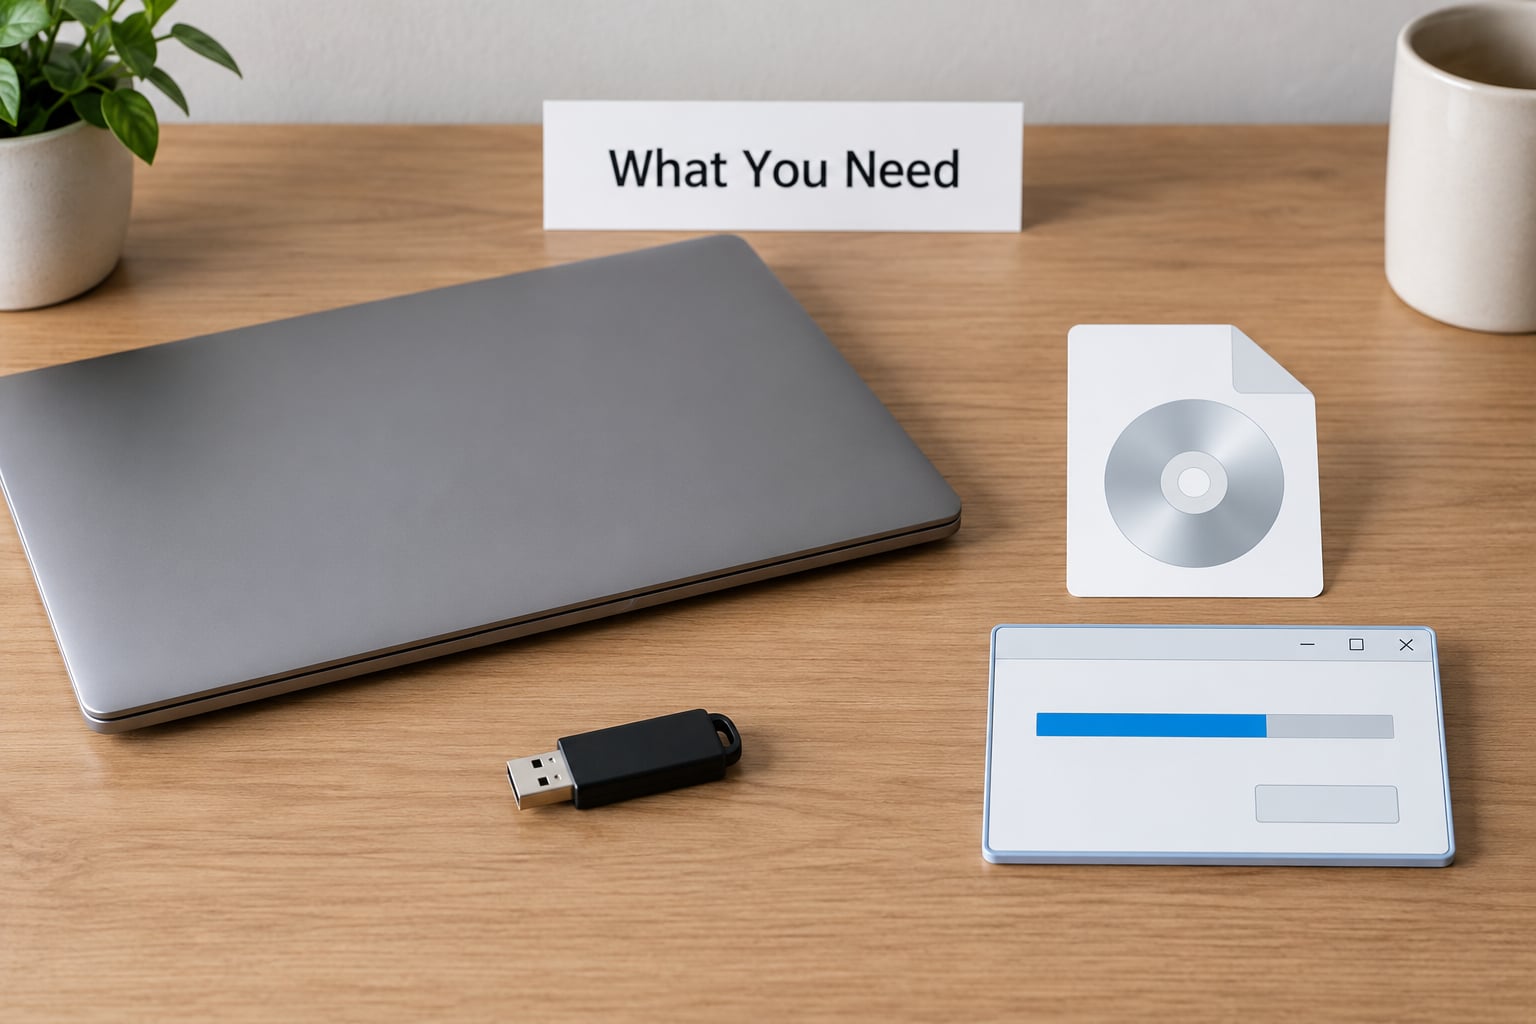
Four things, and only one of them is fussy. Grab a flash drive you are willing to lose, the ISO file for the distribution you want, a writing tool, and an hour of free time if something goes wrong.
The USB drive
Use a drive between 8 GB and 32 GB. Anything under 4 GB will not hold a current desktop ISO, and a 64 GB drive costs more than it needs to for an installer.
USB 3.0 drives are noticeably faster to write than USB 2.0 ones, often two or three minutes instead of fifteen. Avoid cheap no-name drives with unreliable flash memory — a failed write halfway through leaves you with a drive that looks finished but will not boot, and there is no way to tell from the stick itself.
The Linux ISO
Download the desktop image from the distribution’s own website. Ubuntu, Linux Mint, Fedora and Pop!_OS all publish a plain .iso file on their download page; some also offer a torrent for the same file.
Pick the image matching your processor: x86_64 for anything made in the last decade and a half, arm64 for a Raspberry Pi or an ARM-based laptop. Get the desktop image for a normal PC. Server images skip the installer and the live desktop, and they confuse people who were expecting a graphical installer.
A writing tool
balenaEtcher is the easiest — it runs from an AppImage on Linux, has a double-click installer on Windows and macOS, and does the same three clicks everywhere. Rufus is Windows-only and the most flexible of the bunch. Ventoy does something different and worth knowing about. Brasero and UNetbootin are Linux-native alternatives.
Here is how they compare.
| Tool | Runs on | Persistence | Multiple ISOs | Best for |
|---|---|---|---|---|
| dd | Linux | No | No | Reliability, no install needed |
| balenaEtcher | Windows, macOS, Linux | No | No | First-time users |
| Rufus | Windows only | Yes, optional | No | Persistence and ISO mode control |
| Ventoy | Windows, macOS, Linux | Yes, built in | Yes | One stick holding many installers |
| Brasero | Linux | No | No | A GNOME-native GUI |
| UNetbootin | Windows, macOS, Linux | No | No | Downloading the ISO for you |
Before you write anything
Back up the USB drive. Flashing overwrites every byte of it, including a partition table you may not have known was there.
Unplug every other external drive — a hard drive, a card reader, a phone. On a desktop with two internal disks, dd will happily overwrite the wrong one, and that mistake is not undoable.
Verify the ISO download before flashing it. Every project publishes a SHA256 checksum on its download page. On Linux, run sha256sum ubuntu-desktop.iso and compare the output to the checksum listed on the site. A mismatch means a truncated or altered download, and you would otherwise only find out when the installer refuses to boot three minutes into the startup.
Step-by-Step
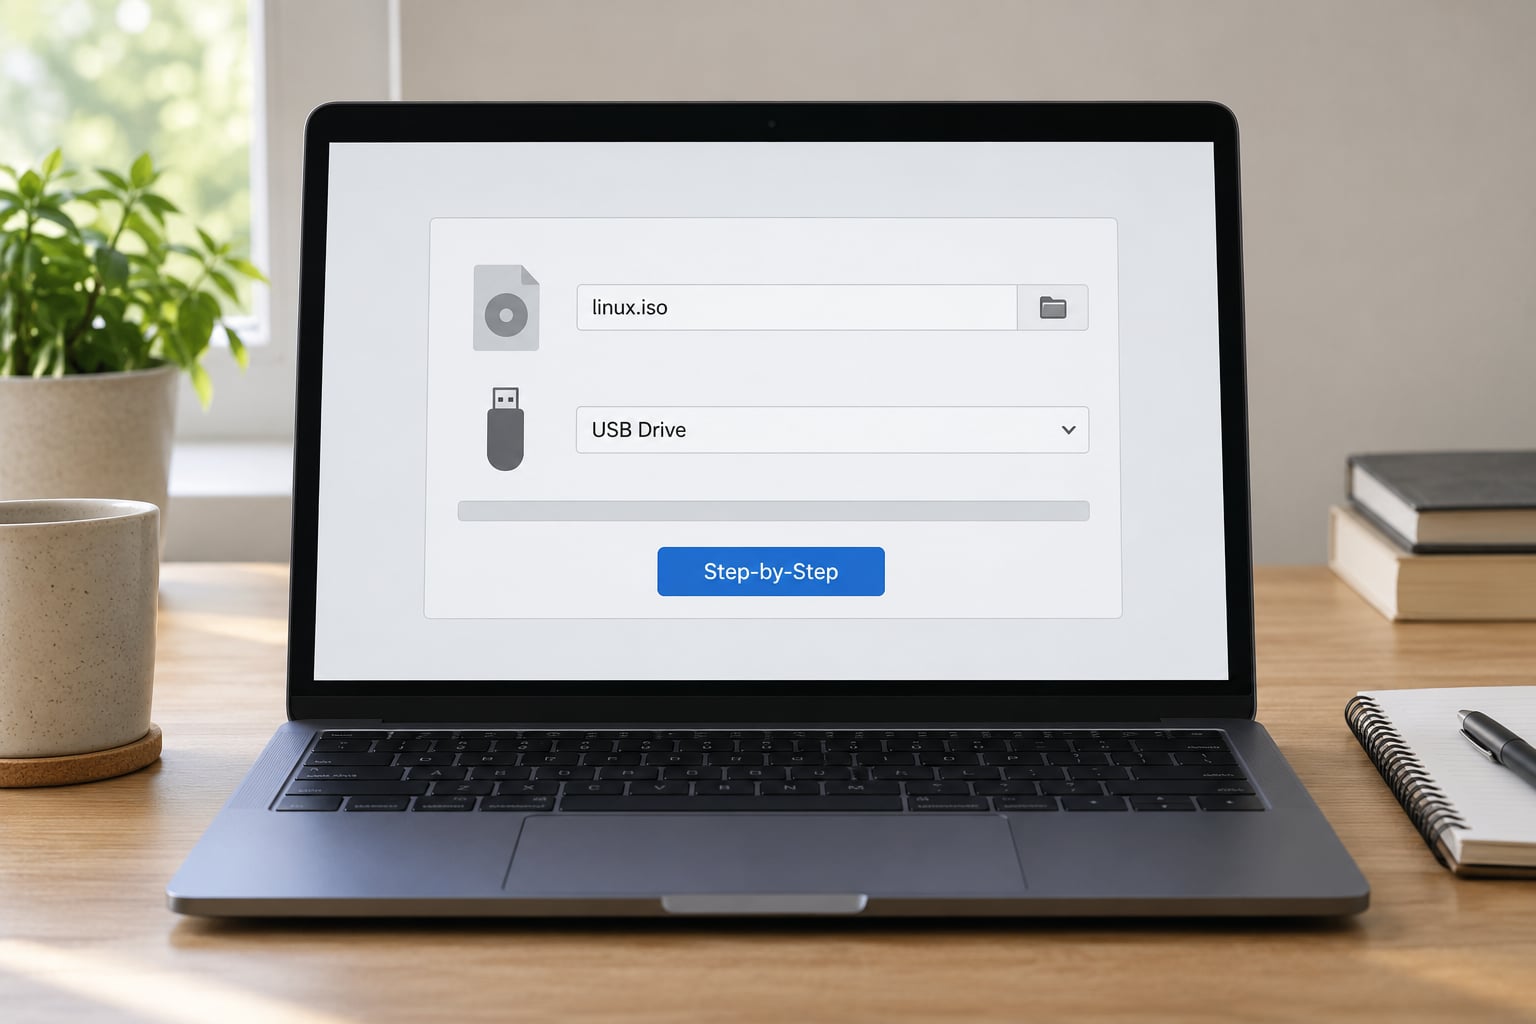
The fastest path is the same three moves in every tool: choose the image, choose the drive, write it. Everything below is detail on how each platform gets you there.
- Insert the USB drive and open the writing tool.
- Select your Linux
.isofile as the source image. - Select the USB drive as the target — check the size and name match the stick you plugged in.
- Click Flash. Do not unplug anything until the tool says it is done and has validated the write.
- Eject the drive safely from your file manager.
- Restart the computer, open the boot menu, and pick the USB drive.
On Windows: Rufus or balenaEtcher
Rufus gives you the most control, including the two ISO modes that trip people up. Download it, insert the drive, and Rufus will usually detect it automatically.
Choose your ISO in Device, and look at the Image mode dropdown. DD mode writes the image exactly as downloaded and is the safe default. ISO mode rewrites the image into a Windows-friendly UEFI-friendly layout that also boots on most older BIOS machines. Either works for a standard install; ISO mode is the one to pick for an old laptop that will not boot UEFI media.
Next to it sits the persistent partition slider. Drag it up and Rufus creates a second partition that saves your files between live sessions, roughly 4 GB for most installs. Leave it at zero if you are going straight into the installer.
balenaEtcher on Windows is fewer decisions: Flash from file, pick the drive, click Flash. Use it when you do not want to think about modes.
On macOS: balenaEtcher
Download the macOS build, open the disk image, drag balenaEtcher into Applications, then launch it. macOS refuses to run apps from unidentified developers the first time, so right-click the app and choose Open, then confirm.
The three-click flow is the same as Windows. Note that the USB drive will show up as /dev/disk4 or similar in the app, and macOS calls removable media “external” — check the capacity number in the corner before you confirm.
On Linux: balenaEtcher, Brasero or Ventoy
Rufus has no native Linux build. That gap is what brings people looking for a replacement, and there are three real ones.
balenaEtcher ships as an AppImage: download it, chmod +x balena-etcher-*.AppImage, run it. If it refuses to launch on a newer distribution, that is the sandbox complaining — right-click the file and choose Run as a Program, or run ./balena-etcher-*.AppImage from a terminal.
Brasero comes from the GNOME project, sits in most distro software centres, and does the same job in a plainer window.
Ventoy works differently, and it is the one people recommend most on Linux forums. You write the Ventoy program onto the drive once. After that the drive just shows up as a big normal folder, and you copy ISO files into it. Add Fedora, drop it in another distro, delete it when you are done — no rewriting, no reflashing. To install it on Linux, download the release tarball, extract it, and run sudo ./Ventoy2Disk.sh -i /dev/sdX with your own device path in place of /dev/sdX.
Identifying the right drive with lsblk
Every Linux machine can do this without installing anything. Plug in the USB drive and run:
lsblk -d -o NAME,SIZE,MODEL,TRAN
Read across the line. TRAN showing usb tells you it is removable, MODEL gives you the stick’s name, and SIZE is the number to check against the drive in your hand. An 8 GB drive shows up as about 7.5 GB — the gap is normal decimal-versus-binary rounding, not a different device.
Use /dev/sdX, the whole disk, not /dev/sdX1. The trailing number is a partition; writing to it produces an unbootable mess. If you are not certain, unplug the drive, run lsblk again, note what disappeared, and plug it back in. That comparison is the safest check there is.
Writing the image with dd
Unmount any partitions on the drive first, then write:
sudo umount /dev/sdX*
sudo dd if=linux-image.iso of=/dev/sdX bs=4M status=progress oflag=sync
sync
sudo eject /dev/sdX
Each flag does something specific, and getting them right matters more than anything else in this guide.
| Flag | What it does |
|---|---|
| if= | Input file, the path to your ISO image |
| of= | Output device, the whole-disk path for the USB drive |
| bs=4M | Block size of 4 MB, a good speed compromise for large files |
| status=progress | Prints live progress instead of sitting silent for minutes |
| oflag=sync | Writes data through before finishing, preventing a half-flashed drive on a flaky stick |
Do not extract the ISO first. Mounting it and copying the files across is the single most common reason a stick will not boot — the bootloader has to be written into the drive’s boot sector, and a file copy never does that.
Verifying the drive actually boots
There is no reliable way to check a written drive from the desktop, so test it by booting. Restart and hold the boot-menu key: F12 on most Dell, HP and Lenovo laptops, F8 on some Asus machines, F9 on HP desktops, Esc on Acer and older Lenovo, F11 on older Dell desktops, and hold Option on a Mac.
The USB should appear in that one-time boot menu alongside your hard drive. Select it and you should see the distribution’s boot splash or GRUB menu within a few seconds.
If it does not appear, boot normally from the internal drive instead and change the boot order in firmware settings, or disable Fast Boot in Windows and try again. A drive that works from the one-time menu but not as a first boot device is a fast-boot or boot-order problem, not a failed write.
Common Mistakes
Almost every failed bootable USB traces back to one of six things, and all of them are fixable.
| What you see | Likely cause | Fix |
|---|---|---|
| No bootable device found | ISO was copied as a file instead of written | Rewrite the drive with the image tool |
| Windows still boots, USB ignored | Boot menu key missed or Fast Boot enabled | Hold the key during power-on, disable Fast Boot, retry |
| Boot screen appears, dies to a text error | Secure Boot rejecting the bootloader | Turn Secure Boot off in firmware, or flash an ISO mode image |
| Writer stuck at 0% | Faulty stick or a USB 2.0 port | Try a different drive, another port, another tool |
| Old laptop will not start from USB | UEFI-only image on legacy BIOS firmware | Flash the image in Rufus ISO mode, or disable Secure Boot and enable CSM |
| Files on the stick disappeared | Expected — writing formats the whole device | Nothing to fix; it was never a copy operation |
Writing to the wrong drive
This is the one that haunts people, and rightly. Close every other application that touches removable storage, unplug other external drives, and re-run lsblk immediately before writing. If the list looks unfamiliar, stop. A thirty-second check is cheap next to replacing a laptop drive.
Corrupted downloads
An incomplete download produces an ISO that fails verification or writes fine and then hangs on boot. Always compare the SHA256 checksum. If you use a torrent or the sha256sum command on every download, this failure mode basically disappears.
Secure Boot and UEFI versus legacy BIOS
Modern firmware has Secure Boot switched on by default, and some Linux bootloaders are not signed for it. If you get a black screen or an error about signature verification, head into firmware settings — usually F2, F10, Del or Esc at power-on — and turn Secure Boot off.
The other half of this is firmware mode. A machine set to legacy CSM-only boot will not read a UEFI-only image, and the failure looks identical to a bad stick. Rufus’s ISO mode handles both. Modern Linux distributions ship hybrid images that boot either way, which is why the plain balenaEtcher route usually works on a laptop you did not configure.
What to do after it boots
A live session runs entirely from the USB, leaving your hard drive untouched. That makes it the safest way to check whether you like a distribution or whether your Wi-Fi and graphics drivers behave, before committing to a full install.
From the boot menu you get an installer, so pick the install icon to write Linux to your internal drive. If you want Linux and Windows side by side, choose the installer’s dual boot or manual partitioning option rather than erasing the disk. The partitioning screen looks more complex than it is: the common case is letting the installer shrink Windows and take the free space.
Making a Windows installer from Linux
The reverse direction comes up constantly. A single Windows ISO is not a hybrid image, so dd will not reliably boot it. Use woeusb-ng, which prepares the media properly, or skip the work entirely by installing Ventoy and copying the Windows ISO onto it.
Frequently Asked Questions
Will creating a bootable USB drive for Linux erase the USB?
Yes. Writing an image formats the entire drive, removing every existing file, partition and filesystem on it. That is why the step that seems harmless — picking the target device — is the one that needs care. Back up anything on the stick, unplug other external drives so you cannot select the wrong one by mistake, and check the capacity shown next to the target before you confirm.
Which USB drive works best for a Linux installer?
An 8 GB to 32 GB USB 3.0 drive from a known brand. Current desktop ISO files run roughly 2 GB to 5 GB, so 4 GB is no longer enough, and a USB 2.0 drive takes three times as long to write. Avoid unnamed drives with unreliable flash memory: a write that fails halfway leaves a stick that looks complete but will not boot, and there is no way to tell from the drive itself.
Is Rufus better than balenaEtcher?
For most people, no — balenaEtcher is easier because it makes the same three choices on every operating system. Rufus is Windows-only, but it exposes two settings the others hide: the DD versus ISO image mode, which matters on older BIOS machines, and a persistent partition slider for saving live-session changes. Choose Rufus when you want those controls; choose balenaEtcher when you just want the drive written.
Can I boot Linux from a USB drive without installing it?
Yes. A written USB drive boots into a live session that runs entirely from the stick and leaves your internal drive alone. Choose the Try or Install option at the boot menu. It is the best way to test a distribution, confirm your Wi-Fi and graphics drivers work, or rescue files from a machine that will not boot, all before anything touches your hard drive.
How do I save changes on a live Linux USB drive?
By default a live session discards everything at shutdown, which catches people out. Two options fix it. Rufus on Windows has a persistent partition slider you set before writing the image. On Linux and macOS, install Ventoy instead — it copies ISOs onto a prepared drive and adds persistent storage per ISO. Rufus has no native Linux build, so Ventoy is the usual answer for Linux users.
Why does my computer not detect the bootable USB drive?
Check four things in order. Confirm the write finished, since balenaEtcher and Rufus both validate before they eject. Reconnect the drive directly rather than through a hub, and try a different port. Restart and hold the firmware boot-menu key — F12, F11, F9, F8 or Esc depending on the manufacturer, or Option on a Mac. Finally, disable Fast Boot in Windows and Secure Boot in firmware, then retry.
Conclusion
The whole process is the same four moves every time: back up the USB drive, download the official Linux ISO for your architecture, verify its SHA256 checksum, and write it with balenaEtcher on Windows or macOS, Ventoy if you want several ISOs on one stick, or dd if you want something that works on any Linux machine with nothing installed. Then boot from it and confirm you get a menu before you close the lid and walk away.
Start with the backup. Everything after that is reversible except the drive you write to.