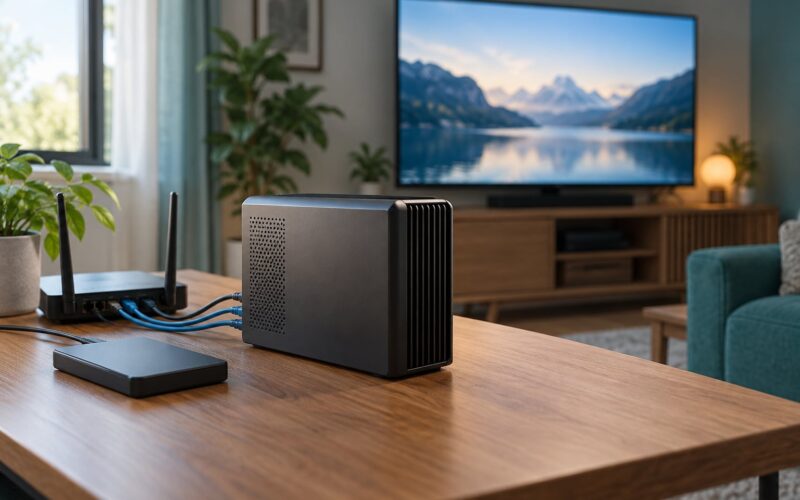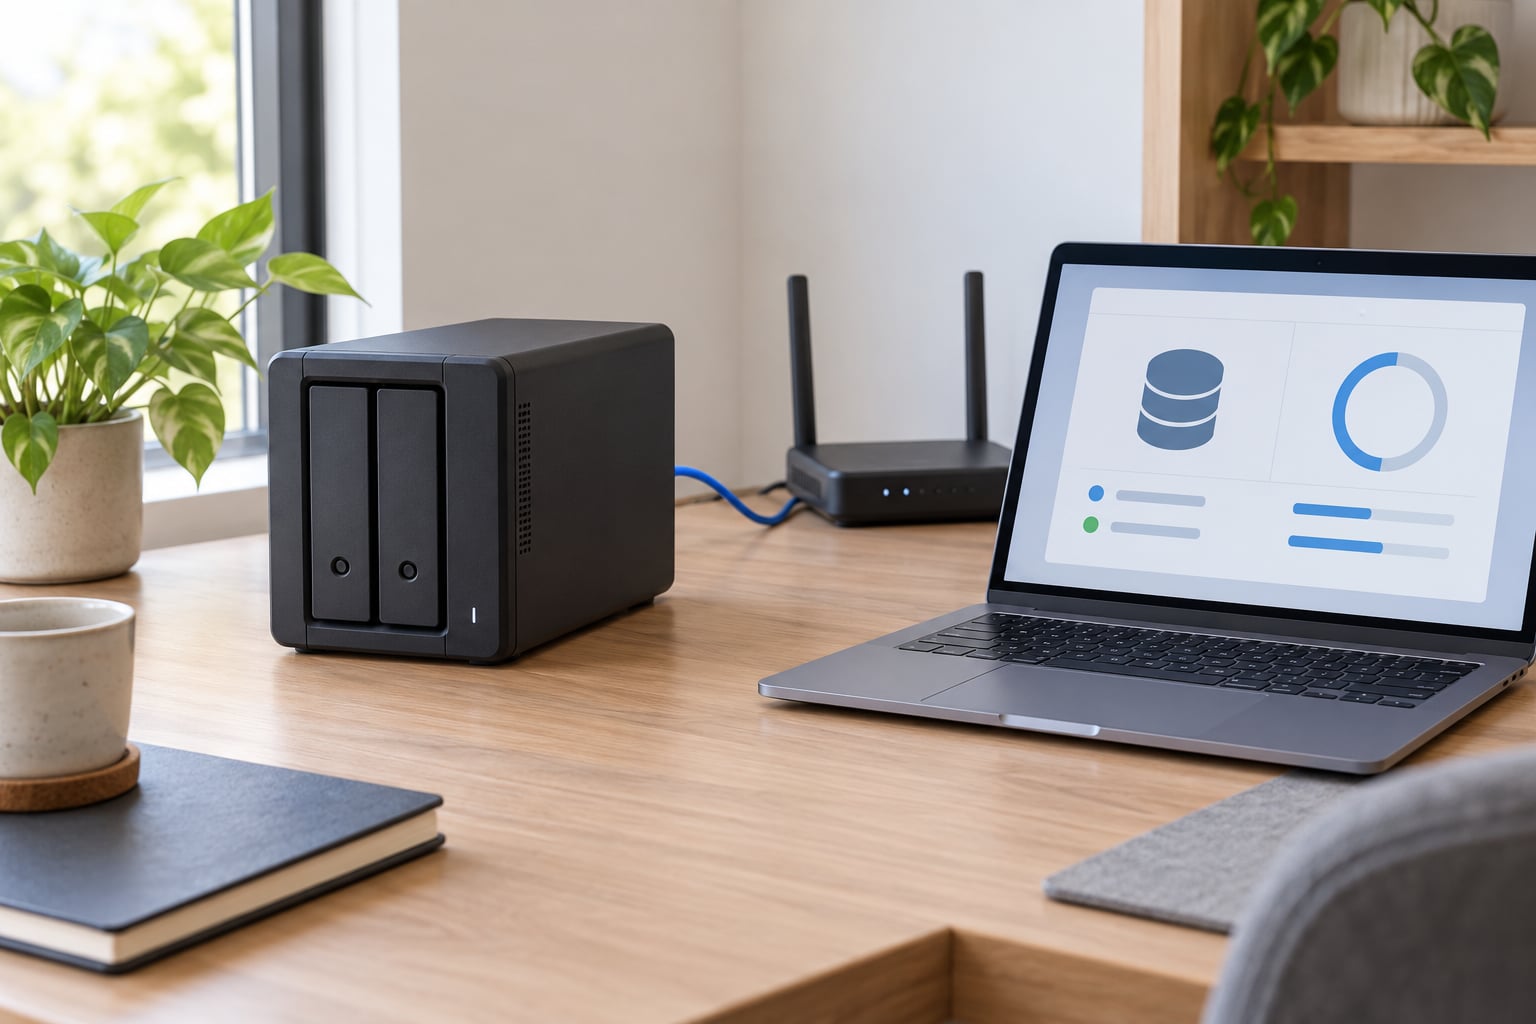
A NAS (network attached storage) is a small box you plug into your router, fill with hard drives, and then reach from any device on your home network. Setting one up at home takes about two to three hours the first time, and most of that is unclipping drive trays and clicking through a setup wizard in your browser.
If you’re wondering how to set up a NAS at home for beginners, the honest answer is that the hardware half is the easy part. Pick a box, slide the drives in, plug in one Ethernet cable. The decisions that actually matter come later: which RAID level you pick, which account you browse files with, and where your second copy of everything lives.
This guide walks through all of it in the order you would do it, with the click paths for Synology DSM and TrueNAS SCALE side by side. No prior networking experience needed.
Here are the short version:
- Choose the NAS type — prebuilt appliance, or a NAS operating system on hardware you already own.
- Buy matching NAS-rated CMR drives and fill at least two bays.
- Connect the NAS to your router with Ethernet and reserve a static IP address.
- Run the setup wizard from your laptop to install the NAS operating system.
- Create a storage volume and the shared folders your household actually needs.
- Make separate user accounts with read and write permissions.
- Map the shared folders on Windows, macOS, iPhone, and iPad.
- Set up backups, including one copy off your house.
- Test a restore, then turn on automatic disk checks and firmware updates.
Table of Contents
- 1What You Need
- 2Step-by-Step: How to Set Up a NAS at Home for Beginners
- 3How to Set Up a NAS at Home for Beginners: Choose the Right NAS
- 4Install and Configure the NAS Operating System
- 5Create Storage and Shared Folders
- 6Connect Computers and Devices
- 7Set Up User Accounts and File Permissions
- 8Configure Backups for Important Files
- 9Set Up Secure Remote Access
- 10Test the NAS and Keep It Healthy
- 11Common Mistakes
- 12Frequently Asked Questions
- 13Do I need a NAS for home backups?
- 14What size hard drive should I choose for a home NAS?
- 15Is RAID a substitute for backups?
- 16Can I access my NAS from a Mac and Windows computer?
- 17Is it safe to access a NAS over the internet?
- 18Start With One Drive and One Backup
What You Need
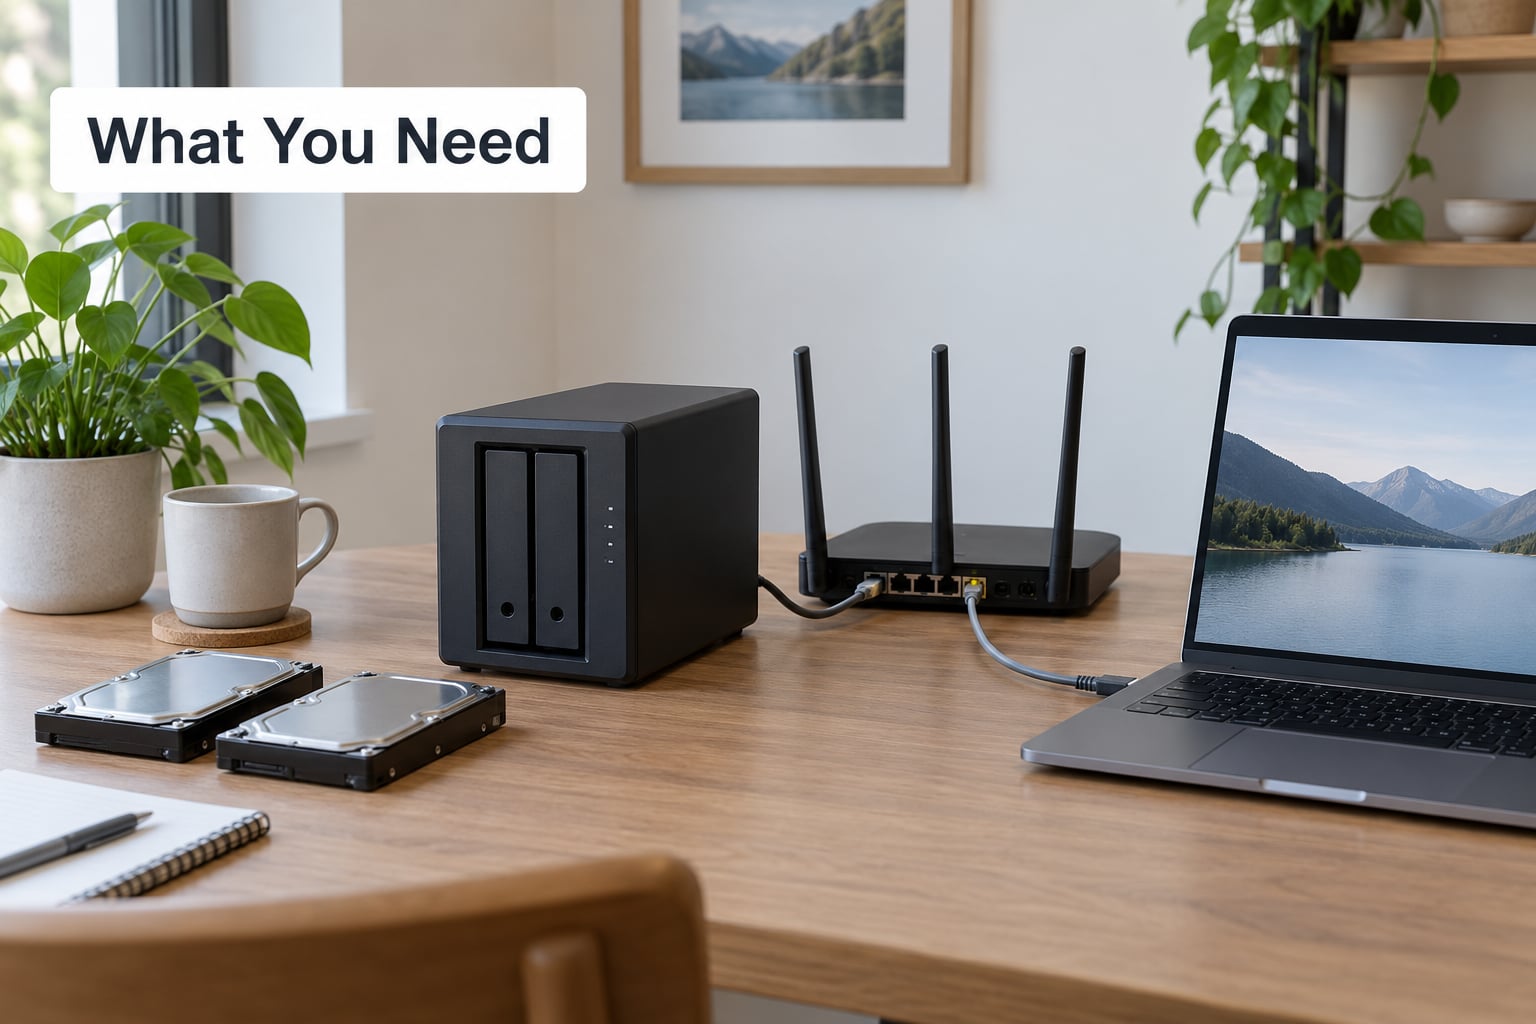
Before you buy anything, work out how much storage you need. A rough rule that holds up well: your photo library plus a few years of phone backups lands most households between 4 TB and 12 TB of usable space. Add a media library and you can double that quickly.
Here’s the minimum kit for a beginner setup:
- A NAS device. Either a prebuilt two-bay or four-bay appliance, or an old desktop or mini PC that will run a NAS operating system.
- Two matching hard drives. NAS-rated, CMR, the same capacity. Two is the floor for any meaningful setup.
- An Ethernet cable and a free LAN port on your router.
- A computer on the same network — a laptop is ideal, since you run the setup wizard from it.
- A surge protector or UPS. A NAS that gets power-cut mid-write can lose more than one file.
On drive capacity, don’t overbuy on the first attempt. Two drives of 4 TB each in a mirror gives you 4 TB usable and a clean path to bigger drives later. Filling eight bays with 20 TB drives on day one is how people end up with a half-empty array and an expensive mistake to live with.
Yes, you can reuse an existing computer. A spare desktop with two free SATA ports and a gigabit port will run OpenMediaVault or TrueNAS SCALE perfectly well, and it’s the route most people in the r/homelab and r/HomeServer communities started with. The catch is power draw: an old tower idles at 40 to 60 watts, which over five years costs meaningfully more than a small NAS enclosure, and it’s louder.
Step-by-Step: How to Set Up a NAS at Home for Beginners
How to Set Up a NAS at Home for Beginners: Choose the Right NAS
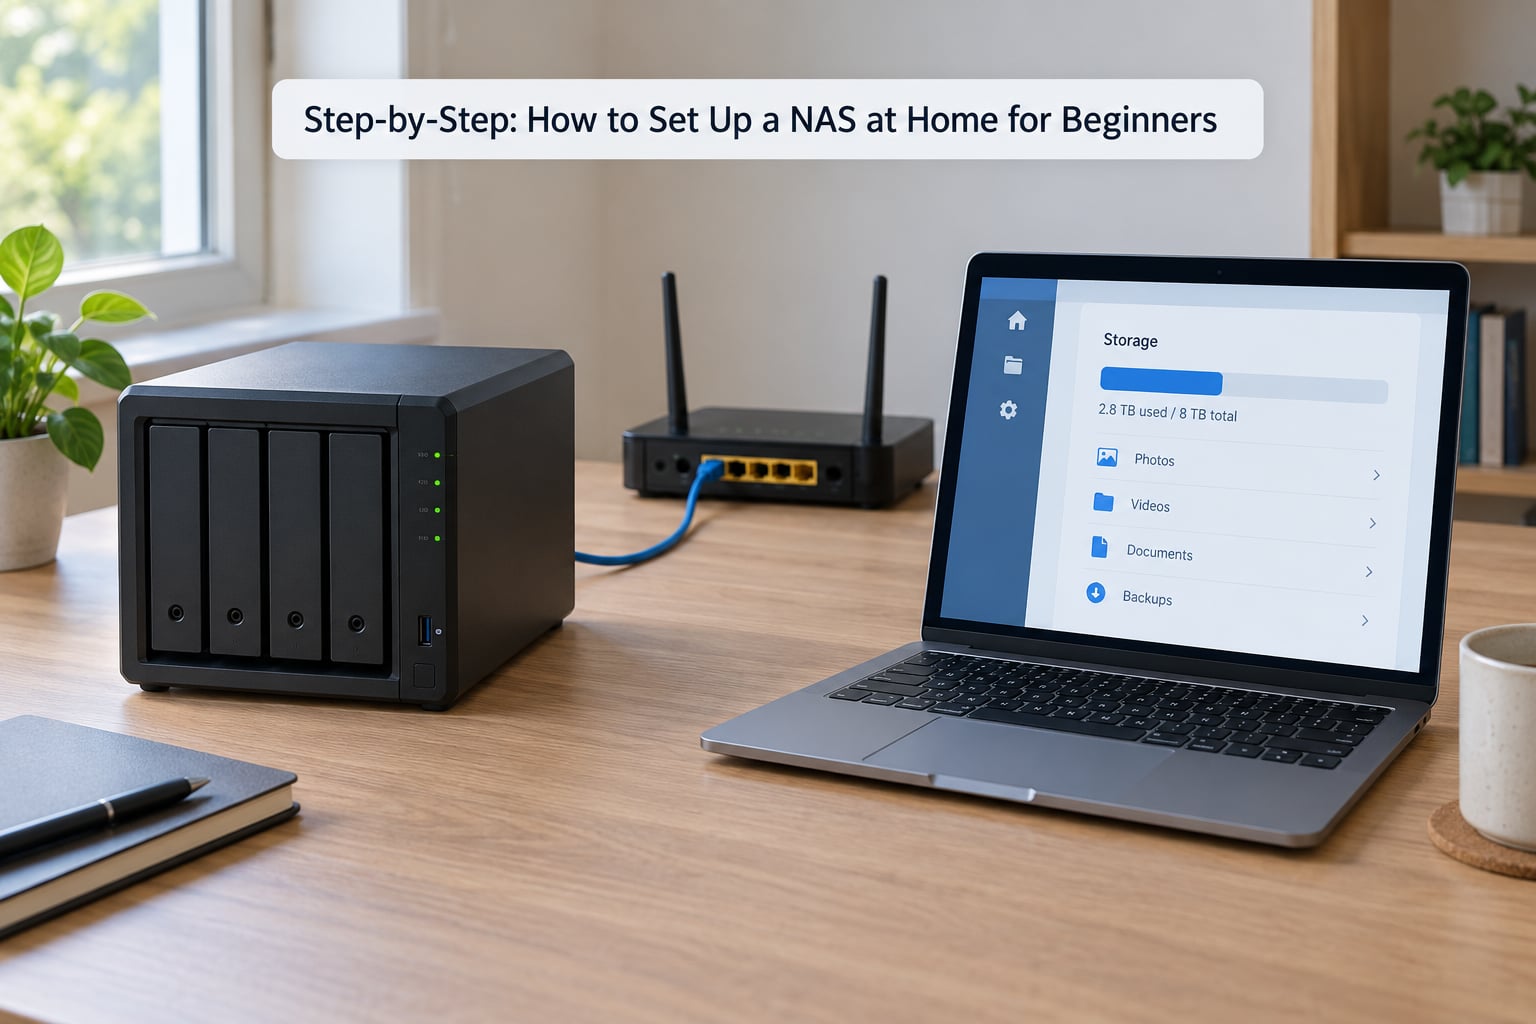
There are four realistic routes, and the right one depends mostly on how much you want to learn and how much noise tolerance you have.
| Route | What it takes | Difficulty | Best for |
|---|---|---|---|
| Prebuilt NAS (Synology, QNAP) | Buy the box and drives | Lowest — wizard does the work | Most households, families, anyone who wants it working tonight |
| TrueNAS SCALE on reused hardware | Old PC or mini PC, USB boot or 2.5GbE NIC | Medium — ZFS has rules | People who want checksums and snapshots and don’t mind reading docs |
| OpenMediaVault on reused hardware | Same hardware, Debian-based | Medium — more familiar to Linux users | Reusing an old box and wanting standard SMB sharing |
| Raspberry Pi with USB storage | Pi, USB-SATA adapter, powered drives | Medium — cabling is fiddly | Lightweight file serving only; no heavy media transcoding |
If you’re not sure, buy the prebuilt box. Community favorites for repurposing old hardware tend to be mini PCs and old desktops, not Pi setups, because drive power draw on a Pi setup needs a powered hub and adds a second failure point.
Whatever you pick, buy drives that match each other exactly — same model, same capacity, bought together. This matters more than most beginners expect. Mixed capacities in a RAID array waste space at the smallest drive’s size, and drives from different batches are the most common cause of a failed rebuild.
Also skip SMR drives. They’re marketed as cheap and they’re a poor fit here, because SMR writes are much slower under sustained load and recovery after a rebuild is punishing. CMR drives — WD Red, Seagate IronWolf and similar NAS-rated lines — are the safe default.
Install and Configure the NAS Operating System
Slide the drives into the bays. Most enclosures use tool-free trays: press the latch, pull the carrier out, attach the drive with two screws, push it back in until it clicks. Nothing else is required, and the drive orientation is almost always the same — label side facing the front of the unit.
Plug one end of the Ethernet cable into the NAS and the other into your router, then power it on. Skip Wi-Fi entirely. Users on r/synology and r/truenas report the same thing endlessly: disappointing transfer speeds almost always trace back to Wi-Fi on the client side, not the NAS.
Next, reserve a static IP address so the NAS never moves. Open your router’s admin page, find the DHCP reservation table (sometimes called “static lease” or “address reservation”), and bind the NAS’s current address to its MAC address. Do this before installing the software, because every later step is simpler when the address never changes.
On Synology: go to find.synology.com on any computer on the network. The page finds the box, asks you to pick a DSM version, then walks you through admin account name, password, time zone, and a notification email. Your NAS restarts twice and reboots into the desktop.
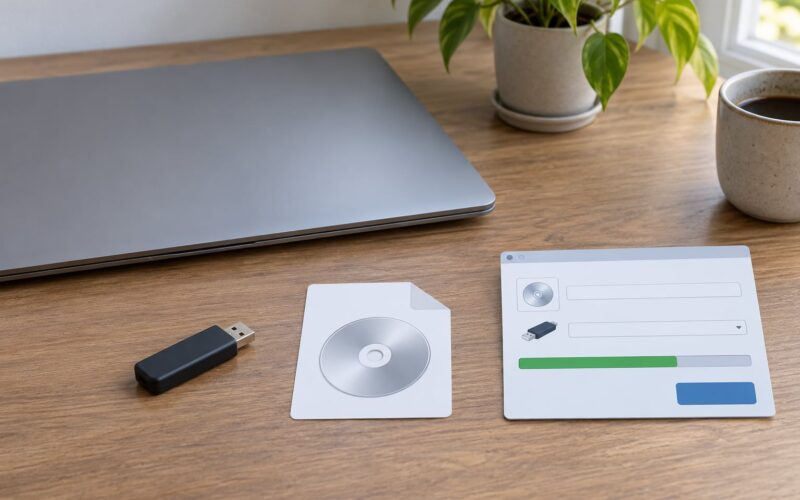
On TrueNAS SCALE: boot from a USB stick written with the TrueNAS installer, pick the boot drive, then on the web UI configure hostname, time zone, and the admin account. When the installer offers drive selection, tick only your NAS drives — this is the step where beginners accidentally overwrite the wrong disk, so read the target device size before you confirm.
Once you’re in, set a hostname you can type from memory (“nas” is fine), confirm the time zone, and turn on automatic firmware updates. Then change the default admin account name if the system lets you, and turn on two-factor authentication while you’re still logged in on the local network.
Create Storage and Shared Folders
Your drives need to be grouped into a volume before you can put anything on them. On a two-bay unit with matching drives, choose the mirror equivalent and let it build. On Synology DSM the path is Storage Manager > Create Storage Pool > Create RAID 1, then Storage Manager > Create Volume > Shared Folder. On TrueNAS SCALE, it’s Storage > Create Pool (Stripe or Mirror), then Datasets > Add Dataset for each share.
Here’s how the common layouts compare:
| Layout | Minimum disks | Tolerates one disk failure? | Who should use it |
|---|---|---|---|
| RAID 1 / Mirror / SHR-1 | 2 | Yes | Nearly every home setup |
| RAID 5 / RAIDZ1 / SHR-2 | 3 | Yes, but a second failure loses the array | Large libraries, four bays or more |
| RAID 6 / RAIDZ2 / SHR-3 | 4 | Yes, two failures | Irreplaceable data, larger arrays |
| RAID 0 / Stripe | 2 | No — any failure loses everything | Scratch space and video renders only |
| JBOD / Basic, one disk | 1 | No | Downloads you can re-fetch; never photos |
RAID keeps a volume running when a disk dies. It does nothing about deletion, corruption, ransomware, fire, or theft. Keep that in the back of your mind and we’ll come back to it.
Now create the shared folders. Keep the list short and match it to real use: Photos for phone and camera libraries, Documents, Media, Backups for machine-to-NAS copies, and Downloads if the family uses one. Shared folders with vague names like “New Folder (2)” are how NAS file systems become junk drawers.
One decision worth making now: turn on snapshots if your filesystem supports them. Btrfs on Synology and ZFS on TrueNAS both let you schedule hourly snapshots for a couple of weeks. That single setting saves you from the most common real disaster, which is a file gone missing rather than a drive gone dead.
Connect Computers and Devices
Your NAS is now a server on the local network. Getting to it differs slightly by platform, and local versus internet access is a completely different mechanism.
Windows 11: open File Explorer, go to This PC, then Map network drive in the ribbon. Pick a letter, type the path as \nas-namephotos (or the IP address if you skipped the hostname), and tick reconnect at sign-in. Your folder is now in This PC like a local drive.
macOS: Finder, then Go > Connect to Server in the menu bar. Type smb://nas-name and press Connect. Choose Registered User and enter your NAS account credentials, not your Mac login. On modern macOS you can also see the NAS under Network in the sidebar.
iPhone and iPad: install the vendor’s file app (Synology Drive or DS Finder, or the TrueNAS Companion), then sign in with the account you created. The same app handles mobile photo backup if you enable it in settings.
Local access means your home Wi-Fi. Internet access is a separate feature you configure deliberately — see the remote access step below.
Set Up User Accounts and File Permissions
This is where most household NAS setups fail socially rather than technically. Everyone logs in as the administrator, one person changes a permission nobody meant to change, and suddenly the grandparents can’t open the photo folder.
Make a separate account per person and one shared “Family” account for the TV and any guests. On DSM: Control Panel > User & Group > Create User. On TrueNAS SCALE: Credentials > Users.
Two rules make permissions behave predictably. First, never use the administrator account for everyday file access — it has permission to delete the operating system if someone gets it. Second, apply access at the group level, not per user, so that adding a family member later means adding one person to one group instead of auditing every folder.
A pattern that works: give adults read and write on Photos and Media, give children read-only on Photos, give everyone write on their own Backups folder, and keep Backups invisible to anyone who isn’t its owner. If you’re setting this up for non-technical relatives, create the account for them and tell them only the login and one folder name — never the admin password.
Configure Backups for Important Files
A NAS is not a backup until a second copy exists somewhere the first copy’s failure can’t reach. This is the step beginners skip, and it’s the only step that protects against the disasters that actually happen.
The 3-2-1 rule: three copies of your data, on two different media, with one copy off-site. Your NAS is copy one. The second copy should be a second device — a USB drive you rotate, or a second NAS. The third lives somewhere else entirely.
For the second copy, most NAS systems can back up to an external USB drive on a schedule, or to another NAS over the network. Synology calls it Hyper Backup (Control Panel > Hyper Backup > Create Backup Job) and supports encrypted replication to an offsite target. TrueNAS has scheduled replication tasks and cloud targets.
For the off-site copy, options range from an encrypted cloud sync to a second box at a relative’s house. Users on r/synology increasingly run two-location setups for exactly this reason. The deciding factor is how much you care: cloud sync is easier, and for an encrypted private repository with versioning turned on, it protects against deletion as well as hardware failure.
Then back up to the NAS. Point Hyper Backup, a Mac Time Machine target, or a Windows backup tool at the NAS and schedule it nightly for each machine. Laptops get replaced; the backup folder is what means you don’t lose the machine’s history too.
Finally, test a restore. Copy a folder into Photos, wait for the backup to run, then delete it and restore it. If that fails, your backup is a comforting file you cannot use.
Set Up Secure Remote Access
Accessing your NAS from outside your home is useful and easy to get wrong. The unsafe method is port forwarding the admin panel straight to the internet — it puts a login page for your entire file storage on every port scanner in the world. Don’t.
Use one of three safer routes. A vendor relay service such as Synology QuickConnect is the simplest: it brokers an authenticated tunnel and never opens an inbound port. A VPN is the most flexible: most NAS systems include a VPN server, or you run WireGuard or Tailscale on the NAS itself and connect from your phone and laptop. A private network overlay like Tailscale is the least to configure and works across devices without per-device VPN setup.
Whichever you pick, layer the rest: enable HTTPS for the web interface, turn on auto-block so failed logins get temporarily locked out, set up two-factor authentication on every account including service accounts, and keep firmware updates on automatic. Security researchers have repeatedly pointed out that attackers on the same Wi-Fi — a guest, a smart device, a compromised laptop — attempt logins against home networks, which is exactly what auto-block is for.
Test the NAS and Keep It Healthy
Run this checklist in the first week, then a trimmed version of it every few months:
- Write and read test. Copy a large file to the NAS from a wired machine, then open it on a second device. If you skipped this, your first real transfer is your test, and that’s the worst time to find out.
- Speed check. Expect roughly 100 MB/s over gigabit Ethernet and close to 1,100 MB/s over 2.5GbE with fast drives. Well below that, check the client is on Ethernet and that the protocol is SMB3.
- SMART status. Run a short SMART test from Storage Manager (DSM) or Disks (TrueNAS). Long tests are scheduled, not run on demand.
- Data scrubbing. Schedule it monthly on Btrfs or ZFS. It reads every block and quietly fixes what it can.
- Backup job status and one restore. Confirm last-run times, not just that the job exists.
- Restart behaviour. Pull the power briefly and confirm the NAS restarts on its own with shares intact.
On whether to leave it on: yes, and that’s the point. A NAS that gets rebooted once a week is a NAS that isn’t there when you need it. Most home NAS boxes idle around 20 to 35 watts; budget for a small UPS so a power cut shuts it down cleanly instead of corrupting a volume. Turn on the NAS’s UPS support so it knows a shutdown was intentional rather than a crash.
Common Mistakes
Almost every painful NAS story traces back to one of these, and most of them are fixable in an hour or, in a couple of cases, not at all.
- Running a single disk with no second copy. Fix: get a second drive and mirror it. A single-disk setup survives until the drive fails, then you find out what the photos were worth to you.
- Treating RAID as backup. Fix: mirror for uptime, separate backup job for safety. RAID handles one failure; it does not handle deletion, ransomware, or fire.
- Buying SMR or mismatched drives. Fix: fill every bay with identical CMR drives of the same size, and prefer four smaller drives over two huge ones for easier expansion later.
- Relying on Wi-Fi. Fix: wire the NAS and the main client machine. This is the number one cause of “the NAS is slow” reports.
- Exposing the admin panel to the internet. Fix: use a vendor relay, a VPN, or a private network overlay, plus HTTPS and two-factor authentication. Never port-forward the admin UI.
- Using the administrator account for everything. Fix: create per-person accounts with group-level permissions before you hand anything to the family.
- Picking the wrong layout before the disks are full. Fix: this is the one genuinely hard mistake to undo. Decide RAID level while the array is empty, and check that your filesystem can grow into bigger drives later.
- Never testing a restore. Fix: restore one file from last night’s backup this week. Ten minutes, and the only way to know the job works.
Two more that come up constantly: putting a NAS in an unheated closet where it throttles, and skipping the second administrator. Create a second admin account with the same rights as the first, store its credentials somewhere your household can find, and you’re protected against the most embarrassing lockout of all.
Frequently Asked Questions
Do I need a NAS for home backups?
No — you need a backup, and a NAS is one convenient way to have one. A NAS works well when you want automatic nightly backups of several computers and phones, local access to a large library, and one place to manage everything. It is less useful if you already have a solid cloud backup with versioning, or if the files involved total only a few gigabytes. The deciding factor is control and cost over several years, plus whether you want backups that do not depend on an internet connection.
What size hard drive should I choose for a home NAS?
For most homes, 4 TB to 8 TB per drive in a two-bay mirror is the sweet spot. That covers a family photo library plus years of phone backups with room to spare, and leaves an easy upgrade path because the drives are identical models. Larger drives only pay off if you store video libraries or camera footage. Always match drive capacity exactly across bays, and choose NAS-rated CMR drives rather than cheaper desktop SMR models.
Is RAID a substitute for backups?
No. RAID keeps a volume usable when one disk fails, and that is genuinely useful — but a mirrored copy contains the same deleted files, the same ransomware damage, and the same corruption as the original. RAID protects against hardware failure only. You still need a second copy on different media, plus one copy off-site, following the 3-2-1 rule. Treat RAID as uptime and backups as safety; they are different jobs.
Can I access my NAS from a Mac and Windows computer?
Yes, and they can share the same folders at the same time. The protocol is SMB, which both platforms speak natively. On Windows, map the network drive with the path u005cu005cnas-nameu005cphotos. On macOS, use Finder and Go u0026gt; Connect to Server, then type smb://nas-name. Both use the NAS user account you created, not your computer login. Mobile access works through the vendor’s file or backup app on iPhone and iPad.
Is it safe to access a NAS over the internet?
Yes, provided you never forward the admin panel’s port to the internet. Use a vendor relay service such as QuickConnect, a VPN, or a private network overlay like Tailscale — all three create an authenticated tunnel without opening an inbound port. Then turn on HTTPS, two-factor authentication, and automatic blocking of repeated failed logins. This matters most because devices sharing your Wi-Fi, including guests and smart home gear, can attempt logins against anything reachable on the local network.
Start With One Drive and One Backup
If you do one thing differently from most people who set up a NAS this year, make it this: configure the backup before you configure anything else. Two matching CMR drives in a mirror, a scheduled nightly copy from each laptop and phone, and one copy somewhere off your property.
Everything else — media servers, photo apps, Docker, self-hosting — is genuinely fun and genuinely optional. The setup is finished when your important files exist in two places, you have restored one of them successfully, and you know what to check every few months to keep it that way. Updated for 2026.