If you need to know how to restore files from a Time Machine backup, the short version is this: connect the backup drive, open the Time Machine icon in the menu bar, choose Browse Time Machine Backups, use the timeline to travel to the date you want, select the file, and click Restore. One file takes about a minute. A full system restore can run for many hours.
The part that trips people up is not the clicking. It is working out which backup source macOS is actually using, and whether the file you lost is even in that backup. Local snapshots cover roughly the last 24 hours, and they disappear the moment you disconnect the drive. Everything older lives on the external drive, NAS, or Time Capsule you pointed Time Machine at.
I have walked a lot of people through this over the years, and the same three questions come up every time. Which menu do I open? Why is the Restore button greyed out? Can I move the backup to my new Mac? The rest of this guide answers all three, plus the situation that worries people most, which is discovering the backup was never restorable in the first place.
Table of Contents
- 1What You Need
- 2Step-by-Step
- 3Open Time Machine and Choose a Backup
- 4Find the Files You Want to Restore
- 5Restore Files or Folders
- 6Restore a Full User Folder or Mac
- 7Verify the Restored Files
- 8Common Mistakes
- 9Why the Restore Button Is Greyed Out
- 10The Backup Disk Is Not Found
- 11Time Machine Is Stuck on Preparing Backup
- 12The Backup Says It Was Created by a Different Model of Mac
- 13The Backup Drive Is Corrupted
- 14Permission Problems After a Restore
- 15Running Out of Space Mid-Restore
- 16Frequently Asked Questions
- 17Does Apple still support Time Machine backups?
- 18Why is the Restore button greyed out in Time Machine?
- 19Can I restore a Time Machine backup to a different Mac?
- 20What files does Time Machine back up?
- 21How far back do Time Machine backups go?
- 22Do I have to reinstall macOS before restoring a backup?
- 23Conclusion
What You Need
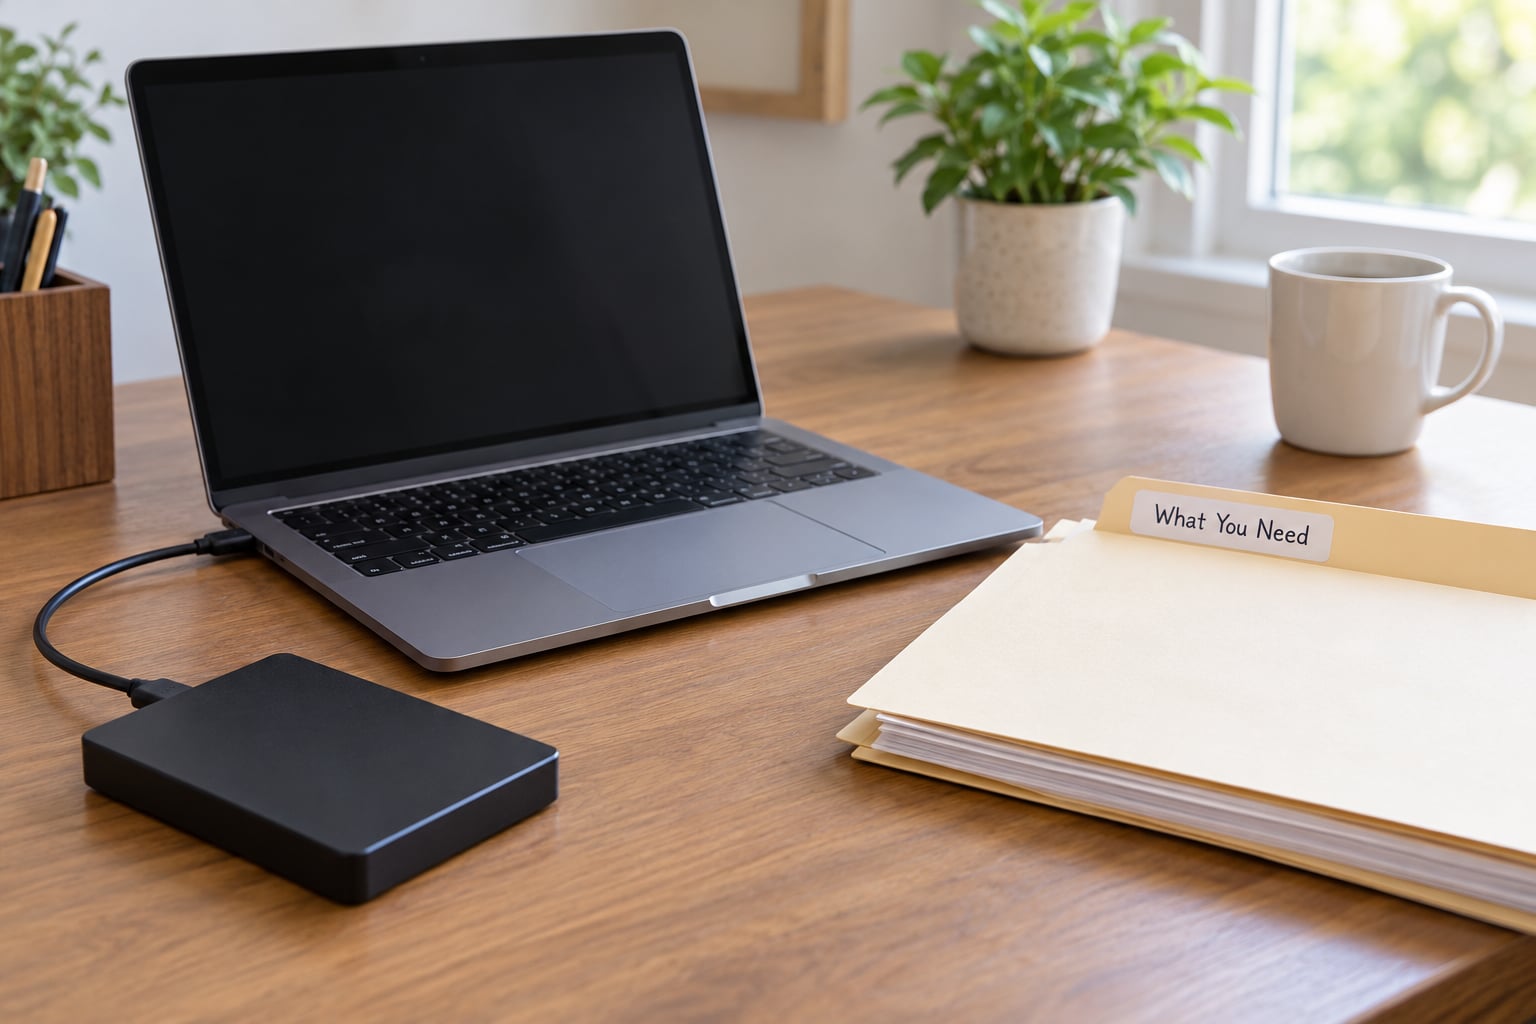
Before you restore anything, gather four things:
- The backup destination. An external USB drive, a Time Capsule, a NAS, or a network share that holds the Time Machine data. If it is a network destination, your Mac needs to be on the same network and awake.
- Administrator access. Restoring into system folders, or running macOS Recovery, needs an admin password.
- The encryption password, if you turned on encrypted backups when you set Time Machine up. Without it, the backup data cannot be read.
- Room to work. A restore copies data back onto the startup disk, so you want free space equal to the size of what you are pulling out.
One check matters more than the others: open Time Machine settings and click Verify Backup while you still have everything working. It takes a few hours and reads the whole backup to confirm it can actually be restored. On a NAS, the option is often greyed out, which is a limitation of the destination rather than a fault in your backup.
Also decide the scope before you start. Restoring one document is safe and fast. Restoring an entire user folder overwrites what is currently there with the older copy. Restoring the whole Mac wipes the system and rebuilds it from the backup, and nothing on the drive survives that process unless it was in the backup.
Step-by-Step
Open Time Machine and Choose a Backup
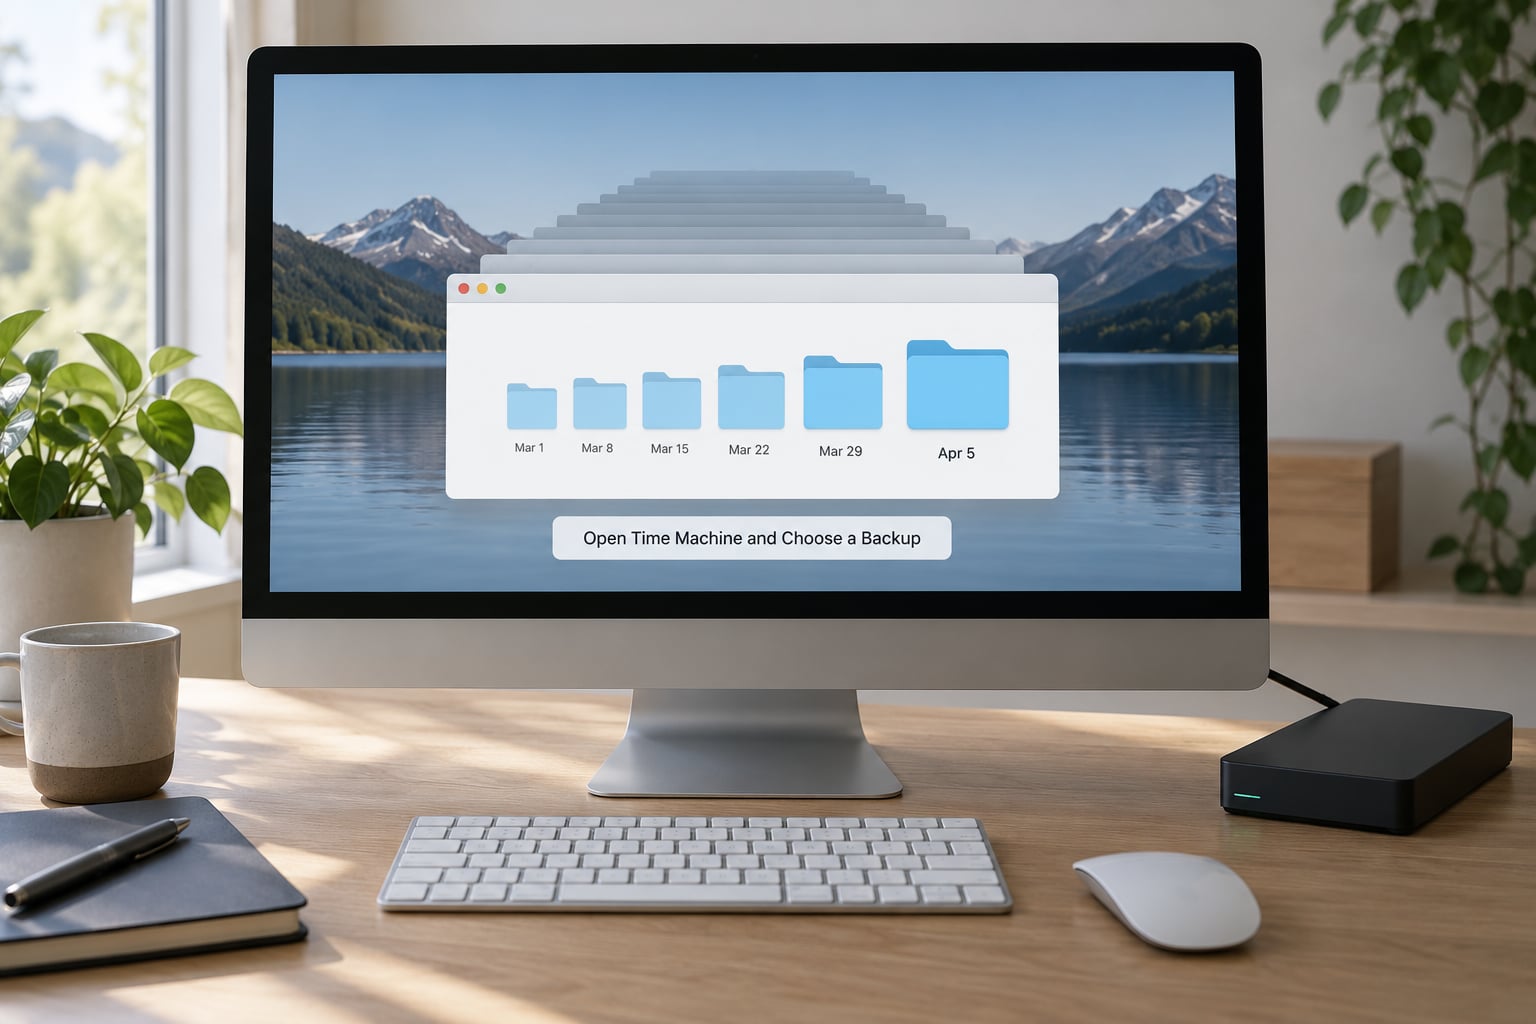
On any recent Mac, click the Time Machine icon in the menu bar, then choose Enter Time Machine. If you do not see that icon, open Apple menu > System Settings > General > Time Machine and turn on the option to show the menu bar item.
macOS restores in a dedicated window layered over your Finder windows. The first time you open it after plugging in a new drive, you may get a prompt asking whether to set up Time Machine with that disk. Say no. You want to browse, not start overwriting the backup you are trying to read.
How macOS finds your backup depends on where it lives:
- External drive or Time Capsule: plug it in and wait. It appears automatically. If it does not, see the Common Mistakes section.
- NAS or network share: the Mac must be on the same network as the share. Time Machine connects to it the same way it does during a scheduled backup.
- Backup from another Mac: connect the drive and browse it. The backup can be read on a Mac that did not create it, provided the architecture matches, meaning an Apple silicon backup needs an Apple silicon Mac.
Older systems differ slightly. On macOS versions before Big Sur, the path runs through the Apple menu > System Preferences > Time Machine, with the same Enter Time Machine option. The layout of the browsing window changed in Sequoia, but the timeline, the arrow keys, and the Restore button work the same way.
Find the Files You Want to Restore
The timeline runs down the right-hand side of the window, and the backup you have selected loads as a folder you browse like any other. Scrub the timeline with the arrow keys or by dragging the marker.
Dates shown in white come from your scheduled backups on the external drive, NAS, or Time Capsule. Dates shown in pink are local APFS snapshots stored on the internal drive. Pink dates only reach back about a day, and they are useful for undoing something that happened this morning. They vanish when the backup drive disconnects, so treat any pink date with caution.
Two tools make finding a specific file painless. Press the search icon or Command-F to run a Spotlight search inside the backup, then refine by date range once results appear. And select any file, then press the space bar for a Quick Look preview so you can confirm it is the right version before committing to the restore.
You can also click the folder view dropdown at the bottom of the window to switch between browsing by folder structure and browsing by date, which is handy when you remember roughly when a file was created rather than where it lived.
Restore Files or Folders
Select the files or folder you want, then click the Restore button at the top right of the window. Time Machine copies them back to the exact place they came from, which means a document goes straight back into the folder it belongs in.
If a file with that name already exists in the destination, macOS asks whether to keep the existing file, keep both, or replace it with the one from the backup. Keep both is usually the safe choice, since it gives you the live version and the recovered version side by side to compare.
When you restore a folder, macOS creates a folder named something like “Documents (restored)” inside the original parent folder instead of merging straight in. That naming is deliberate. It keeps the recovered copy separate so nothing gets overwritten while you are still working.
One caution about dates inside the backup: files restored from Time Machine often carry a modified date from the day they were backed up rather than today. That is expected and not a sign the restore failed.
Restore a Full User Folder or Mac
Restoring an entire user folder works the same way. Enter Time Machine, find the backup date you want, select the folder in the Users directory, and click Restore. Every document inside it comes back at once, and the folder is rebuilt as a copy rather than merged.
Restoring the whole system is a different job, and it uses the macOS Recovery system rather than the Time Machine window.
- Start up your Mac holding the recovery key combination. On Apple silicon Macs, hold Option, Command, and R. On Intel Macs, hold Command and R. Keep holding until the startup options window appears.
- Select Options, then Continue, to reach the Recovery menu.
- Choose Disk Utility > View > Show All Devices if you need to confirm the internal drive is visible.
- Quit Disk Utility and choose Reinstall macOS. The Mac downloads the installer and installs it. Your existing files are erased as part of this step, which is why everything you want must already be in the backup.
- After the Mac restarts, choose Other Users, then the account you want to restore, and follow the prompts to start Migration Assistant.
- When Migration Assistant offers data from “another Mac or Time Machine backup,” choose that, then Transfer from a Time Machine Backup.
- Select the backup disk, choose the date and time to restore from, and click Continue. Choose the backup that matches the size of your drive, since the list shows backups in reverse order with the most recent first.
Expect this to take a long time. Restoring from a fast external drive over USB takes hours on a multi-terabyte backup, and a restore over the network takes considerably longer.
If the backup is moving to a brand-new Mac, connect the old backup drive to the new machine and run Migration Assistant there instead. The new Mac asks whether to inherit the backup history from that drive. Saying yes keeps your backup schedule intact and means you do not have to configure Time Machine from scratch.
Verify the Restored Files
Do not assume a completed restore means complete files. Open the restored folder in Finder and compare the contents against what you remember having there. Look for large files that open slowly, since a truncated copy often still has the right name and size but fails partway through when opened.
For documents, open two or three and scroll through them. For photos, open a set in Photos or Preview and check they all render. For a folder of spreadsheets or code, count the files against the original list.
Keep the backup drive connected until you are satisfied. Once you have confirmed everything is intact, you can disconnect it. If anything is missing, going back into Time Machine and pulling a different date takes a minute.
Common Mistakes
Why the Restore Button Is Greyed Out
Several causes produce a greyed-out Restore button with no error message at all, which is why it generates so much confusion. Work through them in order:
- Nothing is selected. The button stays greyed until you highlight a file or folder in the backup window.
- You are looking at a system item. Some items inside a backup, including certain caches and the Backups folder itself, cannot be restored directly. Copy the specific file you need out of the parent folder instead.
- The backup drive is read-only or disconnected mid-session. Reconnect the drive and re-enter Time Machine.
- A file of the same name is open in another app. Quit the app holding the file and try again.
- The backup was created by a different model of Mac. macOS refuses this restore when the hardware architecture does not match.
- The file is still being written. Wait for Time Machine to finish its current pass and retry.
The Backup Disk Is Not Found
Check the cable first. Mechanical external drives need power from the bus and frequently fail to mount after being unplugged for a while, so power cycling them solves it more often than anything else. Then open Disk Utility, choose View > Show All Devices, and see whether the drive appears at all. If it appears but is unmounted, run First Aid on it. If it does not appear at all, the drive has a hardware problem and no amount of restoring will fix it.
Time Machine Is Stuck on Preparing Backup
An unlimited size option, a full destination drive, and a slow network share all cause this. Free up space on the destination, switch the NAS from a shared folder to a dedicated sparse bundle, and give the first backup after a long gap plenty of time. An antivirus or backup utility scanning the same disk at the same time can stall it too.
The Backup Says It Was Created by a Different Model of Mac
This one confuses people because it blocks a restore they can clearly see. An Apple silicon Mac cannot restore a backup made by an Intel Mac, and the reverse is also true. The fix is a model that matches the backup’s architecture, or restoring to a new Mac through Migration Assistant instead of the direct restore path.
The Backup Drive Is Corrupted
Run First Aid from Disk Utility on the backup volume before anything else. If First Aid reports errors it cannot fix, the recovery path goes through the terminal: run diskutil list to identify the volume, then fsck_apfs -n on the APFS volume to check it read-only first. Reformatting a backup drive erases every backup on it, so treat it as a last resort after First Aid.
Permission Problems After a Restore
Files restored into a different user account keep the original permissions and can open as read-only. Move the folder into your own account rather than adjusting permissions file by file. If an application will not open after a restore, reinstall it from the App Store or delete it and reinstall, since restored app files can miss data the installer expected to create.
Running Out of Space Mid-Restore
A restore fails cleanly when the startup disk fills up, but you are left with a half-populated folder. Delete whatever you can spare, empty the Trash, and run the restore again. Full disk space is also a common cause of a backup that silently stops running.
Frequently Asked Questions
Does Apple still support Time Machine backups?
Yes. Time Machine ships with every Mac, works with external drives, NAS devices, and Time Capsule units, and Apple continues to update it alongside macOS. Backups taken years ago are still readable, as long as they were made with the same architecture as the Mac doing the restore. Old backups made before the switch from HFS+ to APFS may need to be mounted separately rather than restored directly.
Why is the Restore button greyed out in Time Machine?
Most often nothing inside the backup window is actually selected, so the button has nothing to act on. Other causes include selecting a system item that cannot be restored, a backup made by a Mac with a different architecture, a file with the same name currently open in another app, or a drive that dropped off mid-session. Select a normal file, quit any app using it, reconnect the drive, and try again.
Can I restore a Time Machine backup to a different Mac?
Yes, and it is a common setup. Connect the old backup drive to the new Mac and run Migration Assistant, choosing Transfer from a Time Machine Backup. The new Mac will offer to inherit the backup history from that drive, which keeps your schedule and retention settings. The architecture must match, so an Apple silicon backup needs an Apple silicon Mac and an Intel backup needs an Intel Mac.
What files does Time Machine back up?
Time Machine backs up your user folders, which means documents, desktop files, downloads, photographs, music, movies, application support data, and your system settings and preferences. It does not back up items you excluded using the Exclude from Backup option, and it does not capture data that only exists in the cloud, such as photos stored solely in iCloud. Large caches and some application caches are skipped as well.
How far back do Time Machine backups go?
As far back as your destination holds. macOS keeps hourly, daily, and weekly backups depending on how much space is available, so an older backup may exist that you have forgotten about. The pink dates in the timeline are local snapshots and reach back roughly 24 hours. Those disappear when the backup drive disconnects, so anything older than a day lives on the drive, NAS, or Time Capsule.
Do I have to reinstall macOS before restoring a backup?
Only for a full system restore. Reinstalling macOS, then running Migration Assistant and choosing Transfer from a Time Machine Backup, is the supported path and it erases the current system in the process. For individual files or a single folder, no reinstall is needed. Enter Time Machine on your running Mac and copy the items out, which leaves the current system untouched.
Conclusion
Start by connecting the backup drive and clicking the Time Machine icon in the menu bar. That is how to restore files from a Time Machine backup in its shortest form: choose Enter Time Machine, use the timeline to move to the closest date before the files went missing, select what you need, and click Restore.
If you are restoring the entire Mac rather than a few files, the route runs through macOS Recovery and Migration Assistant instead, and it takes hours. Either way, leave the backup drive connected until you have opened the recovered files and confirmed they are intact.