How to format an external hard drive for Mac and Windows comes down to one choice: format the drive as exFAT. It is the only file system macOS and Windows both read and write without extra software, so a single drive formatted once works on both machines and never needs reformatting again when you switch. The whole job takes about five minutes per computer.
Formatting erases every file on the drive. Before you start, copy anything you still need to the internal drive of the computer you’re using, and only connect the drive you actually intend to erase.
Table of Contents
- 1What You Need
- 2Why exFAT instead of APFS or NTFS
- 3What exFAT cannot do
- 4Step-by-Step
- 5How to Format an External Hard Drive for Mac and Windows on macOS
- 6Verify the exFAT Drive on Windows
- 7Format the Drive in Windows Instead
- 8Common Mistakes
- 9Formatting the wrong drive
- 10Choosing the wrong file system
- 11Picking MBR on a large drive
- 12Forgetting Show All Devices
- 13Skipping the verification step
- 14Interrupting an erase or an eject
- 15Formatting to “clean up” a drive
- 16Frequently Asked Questions
- 17Can a Mac read a Windows NTFS-formatted external hard drive?
- 18Is exFAT the best file system for an external hard drive used by Mac and Windows?
- 19Should I choose GPT or MBR for a cross-platform external drive?
- 20Can I format the same external drive on either a Mac or a Windows PC?
- 21What should I do if I formatted the wrong external drive?
- 22Conclusion
What You Need
You need very little: the external drive, a Mac or Windows PC running a current version of its operating system, and a USB cable you trust. Both platforms ship with the formatting tools built in, so no paid utility is required.
- The drive itself. HDD or SSD, any capacity. Everything on it will be gone after the format.
- A direct USB cable. Skip hubs and docks when possible. A marginal cable is the most common reason a drive never shows up at all.
- macOS Ventura, Sonoma, Sequoia or later — the steps below use the current Disk Utility, and they are identical on Apple silicon and Intel Macs.
- Windows 10 version 2004 or later, or Windows 11. Windows 10 and 11 both offer exFAT in the Format dialog. Older builds did not.
- A backup of the drive’s contents. Not optional. There is no undo.
Why exFAT instead of APFS or NTFS
The reason exFAT wins is symmetry. macOS reads NTFS but cannot write to it, so a copy that works fine on Windows fails on the Mac halfway through. Windows cannot read or write APFS or Mac OS Extended at all without third-party software that costs money. exFAT has no such gap.
| File system | macOS read | macOS write | Windows read | Windows write | Largest single file | Best for |
|---|---|---|---|---|---|---|
| exFAT | Yes | Yes | Yes | Yes | No practical limit | One drive shared by a Mac and a PC |
| APFS | Yes | Yes | No | No | No practical limit | Mac-only storage, Time Machine targets |
| NTFS | Yes | No | Yes | Yes | No practical limit | Windows-only drives, dual-boot machines |
| FAT32 | Yes | Yes | Yes | Yes | 4 GB | Old cameras and consoles, tiny files |
| Mac OS Extended (Journaled) | Yes | Yes | No | No | No practical limit | Legacy Mac backups only |
What exFAT cannot do
Being straight about the downsides saves people a bad afternoon later. exFAT cannot be a Time Machine backup destination, and macOS keeps no file permissions or user ownership on it, which matters if several accounts write to a shared folder. It has no native encryption and no journaling, so an unplugged drive mid-write has less protection than APFS or NTFS. Video editors running active project drives often prefer a third-party NTFS driver on the Mac side for exactly that reason.
Step-by-Step
The whole job follows the same order on any machine: back up, identify the exact physical drive, erase it to exFAT with a GUID partition map, eject it properly, then plug it into the other computer and confirm it appears. Budget five minutes on the machine that does the formatting and two minutes on the other one. Nothing here needs a third-party utility or a Terminal window.
How to Format an External Hard Drive for Mac and Windows on macOS
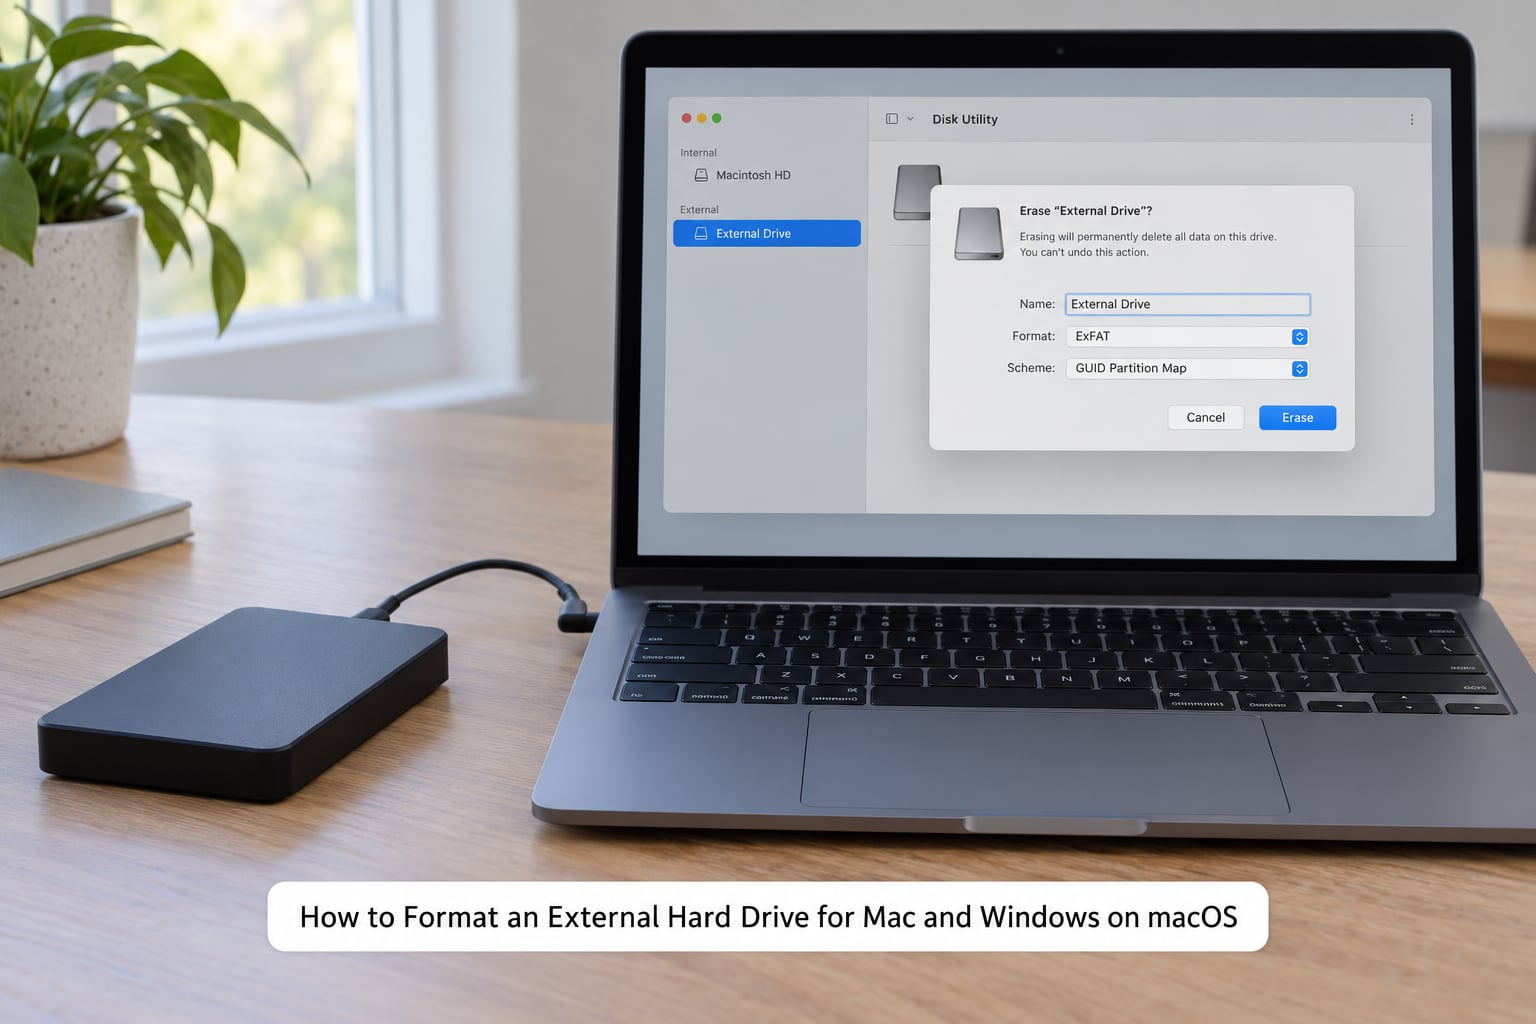
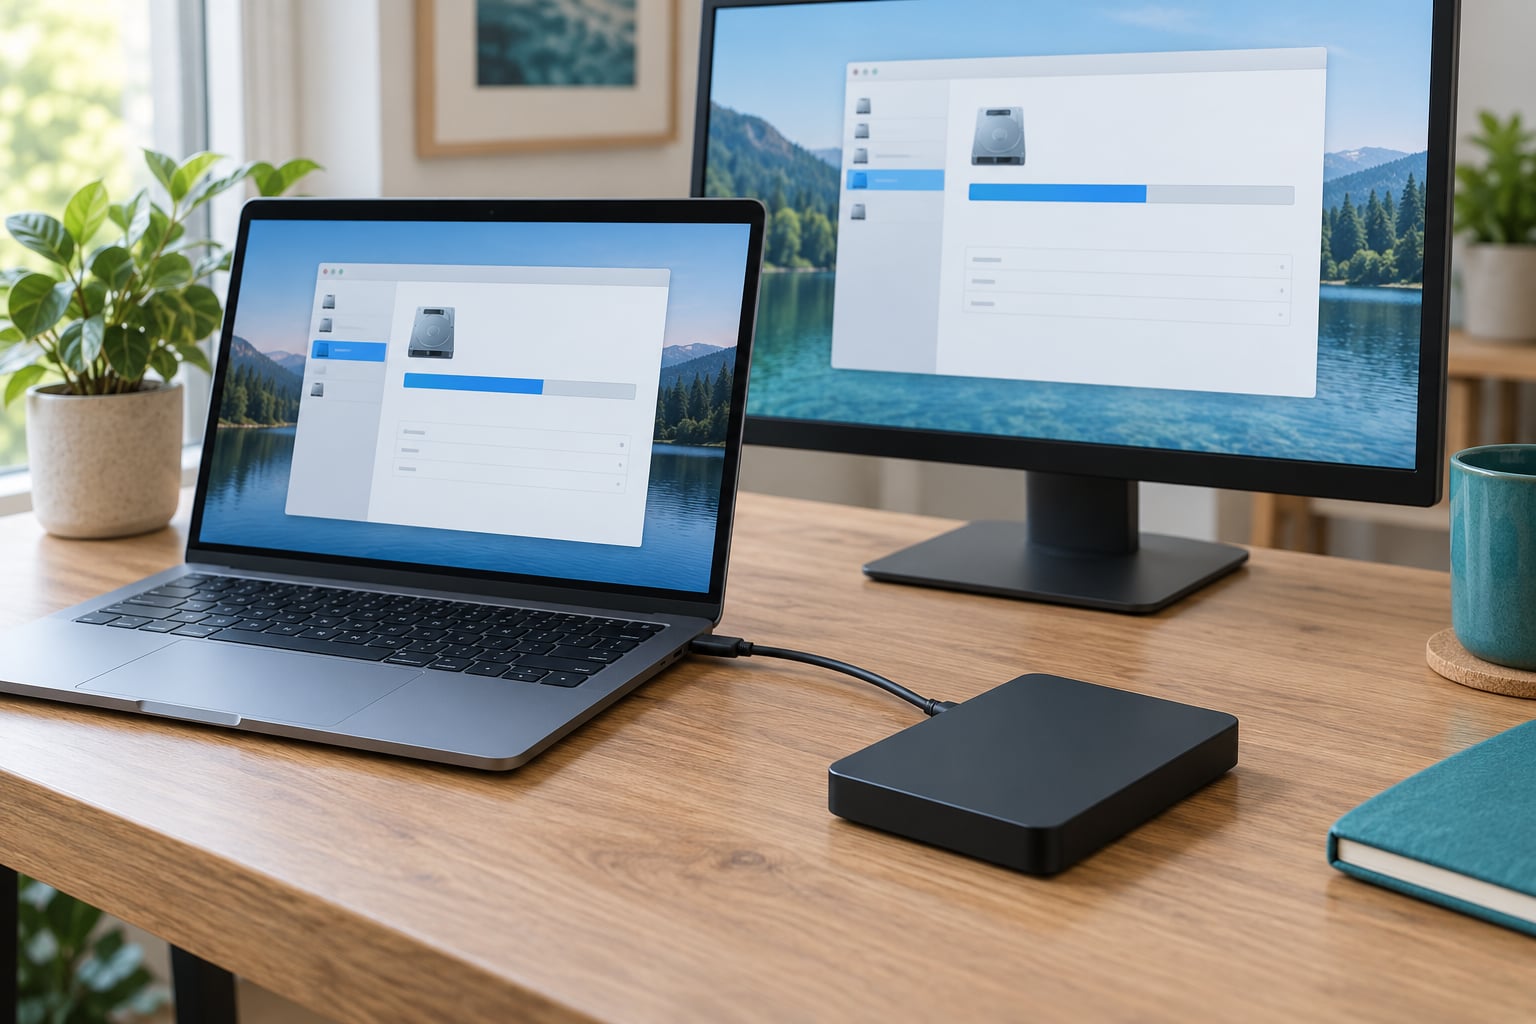
Open Applications > Utilities > Disk Utility. Before anything else, click the View menu in the menu bar and choose Show All Devices. Without this the sidebar lists only mounted volumes, and a drive that is unmounted or has no file system will not appear at all.
Now look at the left sidebar. Devices are listed in physical order: the internal Mac disk sits at the top, and external drives appear below it, indented under their physical entry. Select the external drive, the line whose name is the manufacturer and size, not the volume that appears beneath it. Read the size carefully — that is your only confirmation that you are not about to erase the internal disk.
Click Erase in the toolbar. In the dialog that opens, give the volume a name, then choose Format: ExFAT and Scheme: GUID Partition Map. GUID is the right choice on every modern Mac and on any drive larger than 2 TB, because MBR cannot describe a partition above that size.
Confirm by clicking Erase again. The progress bar takes a few seconds on an SSD and can take a minute or two on a spinning drive. When it finishes, the volume mounts and shows up in your Finder sidebar under Locations.
Before unplugging, click the eject icon next to the drive in the Finder sidebar. Pulling the cable out while the disk is mounted is the single most common cause of filesystem corruption.
Verify the exFAT Drive on Windows
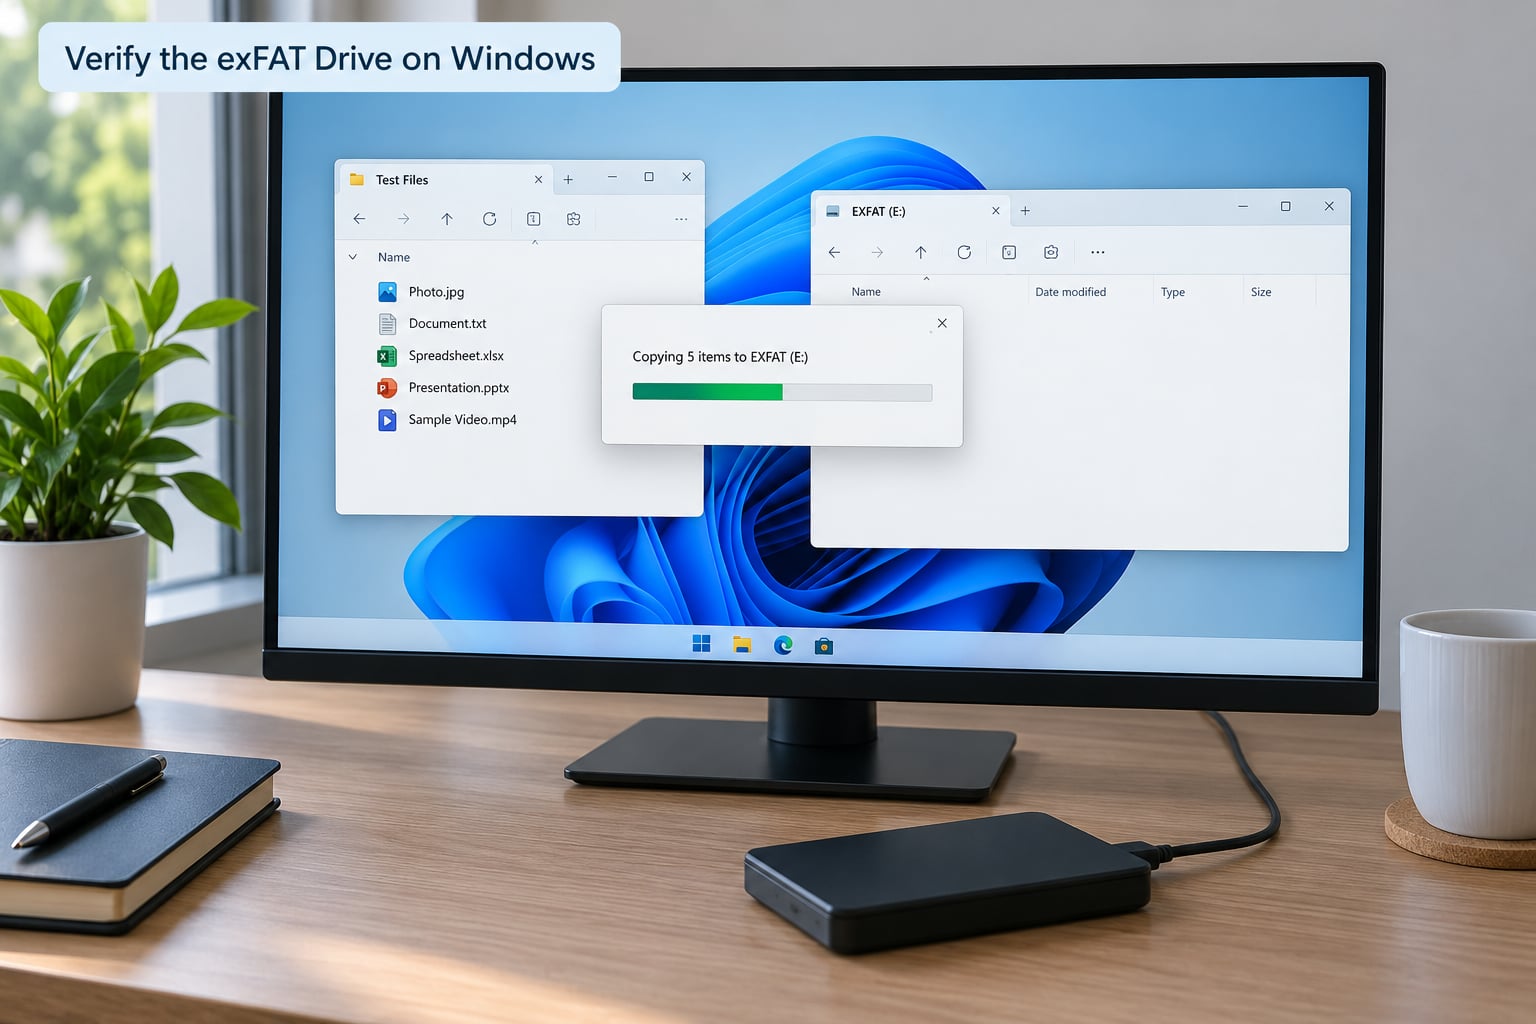
This is the step most guides skip, and it is the one that proves the format worked. Move the drive to the Windows 10 or 11 PC, open File Explorer, and check that the volume appears under This PC. If it shows up with a drive letter and you can open it, the exFAT format is correct.
Create a folder on the desktop, drop a handful of files into it, and copy the folder onto the drive. Let the copy finish fully before doing anything else. Then right-click the drive in File Explorer, choose Eject, and take it back to the Mac.
Open it in Finder and delete the test folder. That round trip — write on Windows, read on Mac — is what actually confirms cross-platform access, rather than the drive simply appearing in the list.
Format the Drive in Windows Instead
If the drive has never been formatted, or you are starting from a raw drive that shows up as unallocated space, you have two routes in Windows. Pick the quick one for a drive that already has a partition; pick Disk Management for anything else.
File Explorer route: open This PC, right-click the drive, and choose Format. In the File system dropdown choose exFAT — Windows 10 version 2004 and Windows 11 do offer it, which surprises a lot of people. Set an allocation unit size of Default allocation unit size, give it a volume label, leave Quick Format ticked, and click Start. Confirm the warning that everything on the drive will be lost.
Disk Management route: press Windows key + R, type diskmgmt.msc, and press Enter. Scroll to the bottom of the window, where disks are listed as Disk 0, Disk 1, Disk 2. Find your external drive by its capacity — this is the step where mistakes happen, so match the size against the drive printed on its label before touching anything.
Right-click the unallocated space on that disk and choose New Simple Volume. Accept the default maximum size, assign a drive letter, choose exFAT in the File system dropdown, and leave Quick Format unchecked so the check runs properly. Click Finish and wait for the format to finish.
If the disk shows a small protected partition of a few hundred megabytes and Format is greyed out, it carries an EFI System Partition from a previous Mac format. You cannot delete it through Disk Management, but you do not need to. Creating the new simple volume in the remaining unallocated space still produces a working exFAT drive.
Common Mistakes
Most formatting problems come down to picking the wrong option rather than doing the process badly. These are the ones I see over and over.
Formatting the wrong drive
Disk Management numbers disks bottom-up by internal order, and a Windows machine often has several. Disk 0 is usually the system SSD. Before you create a volume, confirm the capacity matches your external drive and that the bar spans the entire disk. A double click on the disk number opens a properties window that settles it.
Choosing the wrong file system
People reach for NTFS because it is the Windows default, then discover halfway through a transfer that the Mac refuses to save. APFS is the same trap in reverse — perfect on macOS, invisible on Windows. If the drive moves between machines, exFAT is the only option with no dead end.
Picking MBR on a large drive
MBR describes partitions up to 2 TB. On a 4 TB drive, Windows will show unallocated space that cannot be used and macOS may refuse the volume entirely. Use GUID Partition Map on macOS and GPT in Windows 10 and 11. GPT is the default on both now; you only need to think about MBR for legacy machines or an installer stick that must boot on very old hardware.
Forgetting Show All Devices
If Disk Utility shows nothing but your internal disk, that menu setting is the reason. Toggle View > Show All Devices and the physical drive appears in the sidebar.
Skipping the verification step
A drive that appears in both systems has not proven it can be written to by both. Copy a few files on Windows, delete them on the Mac. That takes two minutes and saves an afternoon of work later.
Interrupting an erase or an eject
Never unplug during a format, and always use the eject command rather than pulling the cable. On spinning drives especially, a yanked connection can corrupt the file system, which is the exact problem you were trying to solve.
Formatting to “clean up” a drive
Formatting is not a way to free space or speed up a slow drive. It wipes everything and returns the space to the file system. If you want a clean, private drive to hand on, that is fine. If you want the files gone for good, use a secure erase instead — on an SSD that means the drive’s own erase function rather than an overwrite.
Three habits cover most of the rest. Read the drive’s size out loud before you erase anything. Keep a backup that lives somewhere other than the drive being formatted. And if the drive is already exFAT and working on both machines, leave it alone — reformatting a good drive is the most common way people lose data for no reason at all.
Frequently Asked Questions
Can a Mac read a Windows NTFS-formatted external hard drive?
Yes, macOS can read an NTFS drive, but it cannot write to it. Files open and copy off fine, yet saving, editing or deleting anything fails with a read-only error. This asymmetry is the reason NTFS is a poor choice for a shared drive. If your drive is already NTFS and you need both systems to write to it, reformat it as exFAT after backing up.
Is exFAT the best file system for an external hard drive used by Mac and Windows?
For a drive that moves between a Mac and a PC, yes. exFAT is the only option both operating systems read and write natively, with no file size limit. The trade-offs are real but narrow: Time Machine cannot back up to exFAT, macOS stores no file permissions on it, and there is no native encryption or journaling. If those matter more than portability, keep separate drives instead.
Should I choose GPT or MBR for a cross-platform external drive?
Choose GPT, which appears as GUID Partition Map on macOS and is the default in Windows 10 and 11. MBR cannot describe a partition larger than 2 TB, so a 4 TB drive formatted with it will leave space unusable or fail outright. MBR is only worth considering for an installer USB that must boot on very old hardware, or for a machine running Windows 7.
Can I format the same external drive on either a Mac or a Windows PC?
You can, and the result is identical as long as you pick exFAT and GPT on whichever machine you use. Once a drive is formatted as exFAT, it stays readable and writable on both systems with no further formatting. You only need to format it again if you are deliberately switching file systems, splitting it into multiple partitions, or selling it and wiping it.
What should I do if I formatted the wrong external drive?
Stop using the drive immediately and do not write anything else to it. Connect it to a machine with recovery software and run a scan for deleted files; data recovery tools look for file signatures, so an untouched formatted volume has a fair chance of recovery. Many drives ship with the vendor’s recovery utility preloaded. Stop and act quickly, because the more you write to the drive, the worse the odds get.
Conclusion
Format the drive as exFAT with a GUID partition map, once, and it works on every Mac and PC you plug it into from then on. Start by backing up everything on it, confirm the size of the physical drive before you click Erase, and give it two minutes on the other computer to prove both systems can write to it. Once that test passes, there is no reason to format the drive again.