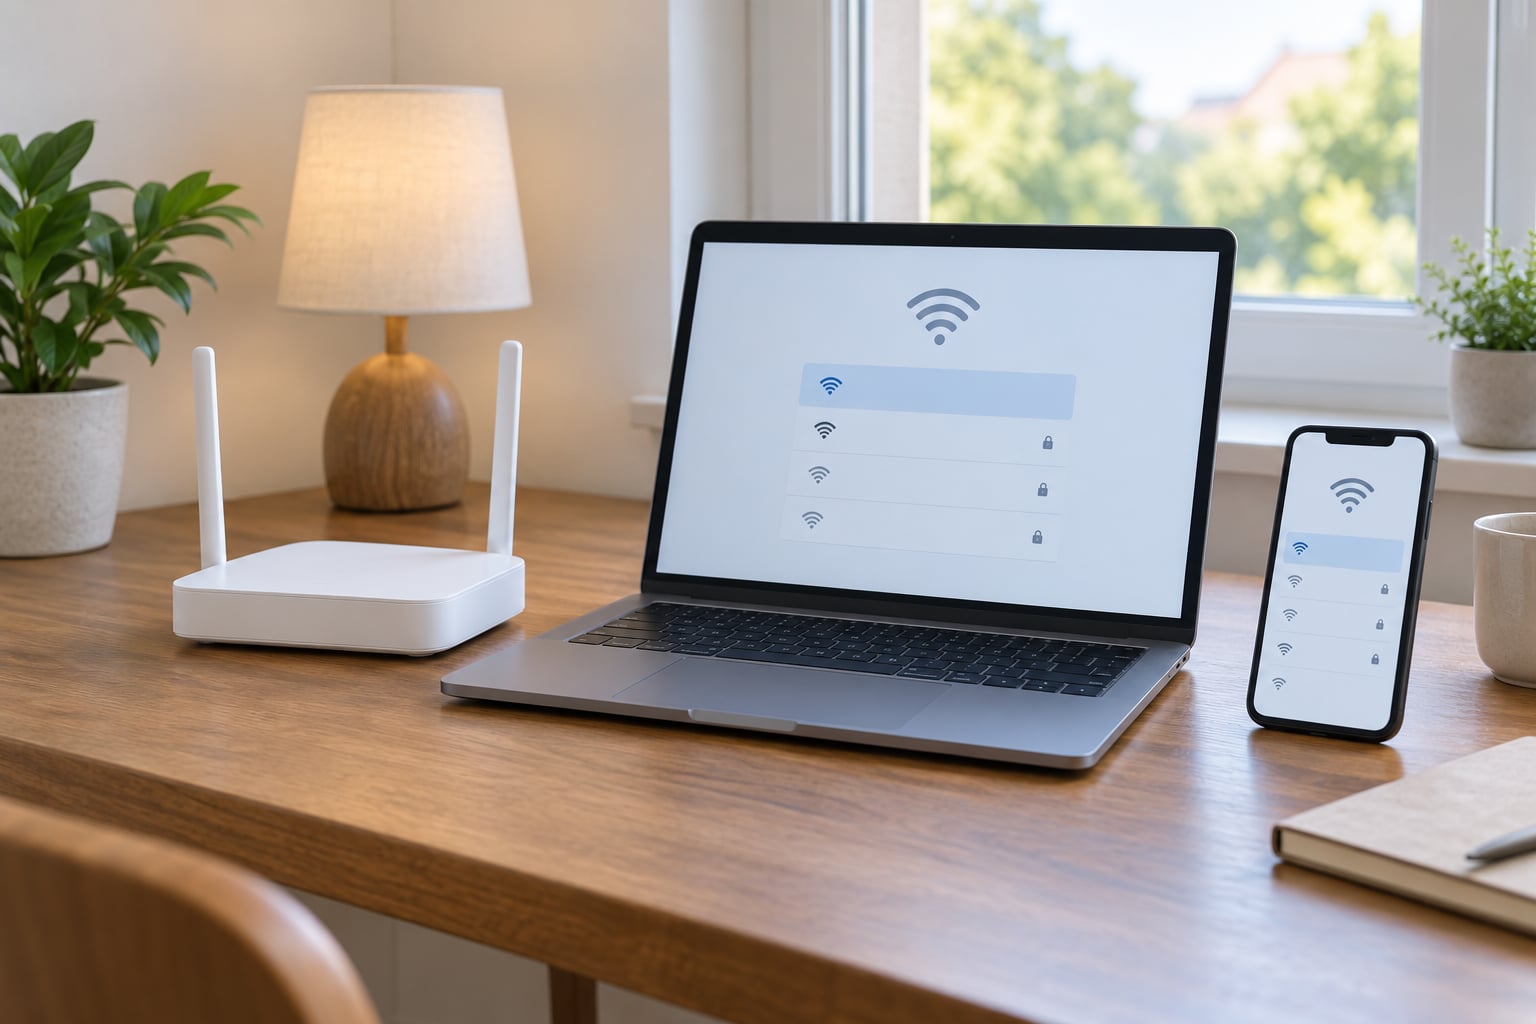
To set up a guest WiFi network, sign into your router’s admin page, switch on the guest feature, give it its own name and password, and turn on isolation so guests reach the internet and nothing else. Any router sold in the last decade can do this, and the whole job takes about fifteen minutes.
I’ve set these up on everything from ISP gateways to mesh systems, and the same four settings show up on nearly all of them: the network name, the password, the security mode, and the switch that blocks local access. That last one is the whole point, and it’s the one most people skip.
Table of Contents
- 1What You Need
- 2Step-by-Step
- 3Step 1: Sign In to Your Router’s Admin Panel
- 4Step 2: Open the Guest Network Settings
- 5Step 3: Enable the Guest Network
- 6Step 4: Choose a Secure Wi-Fi Band
- 7Step 5: Turn On Guest Network Isolation
- 8Step 6: Save and Restart the Router if Required
- 9Step 7: Connect a Device and Test the Separation
- 10Common Mistakes
- 11Frequently Asked Questions
- 12What does guest WiFi isolation do?
- 13Can guests on a guest WiFi network see my computer?
- 14How do I stop guests from accessing my printer or NAS?
- 15Do I need a special router to create a guest WiFi network?
- 16How can I turn guest WiFi off automatically?
- 17Turn Isolation On First
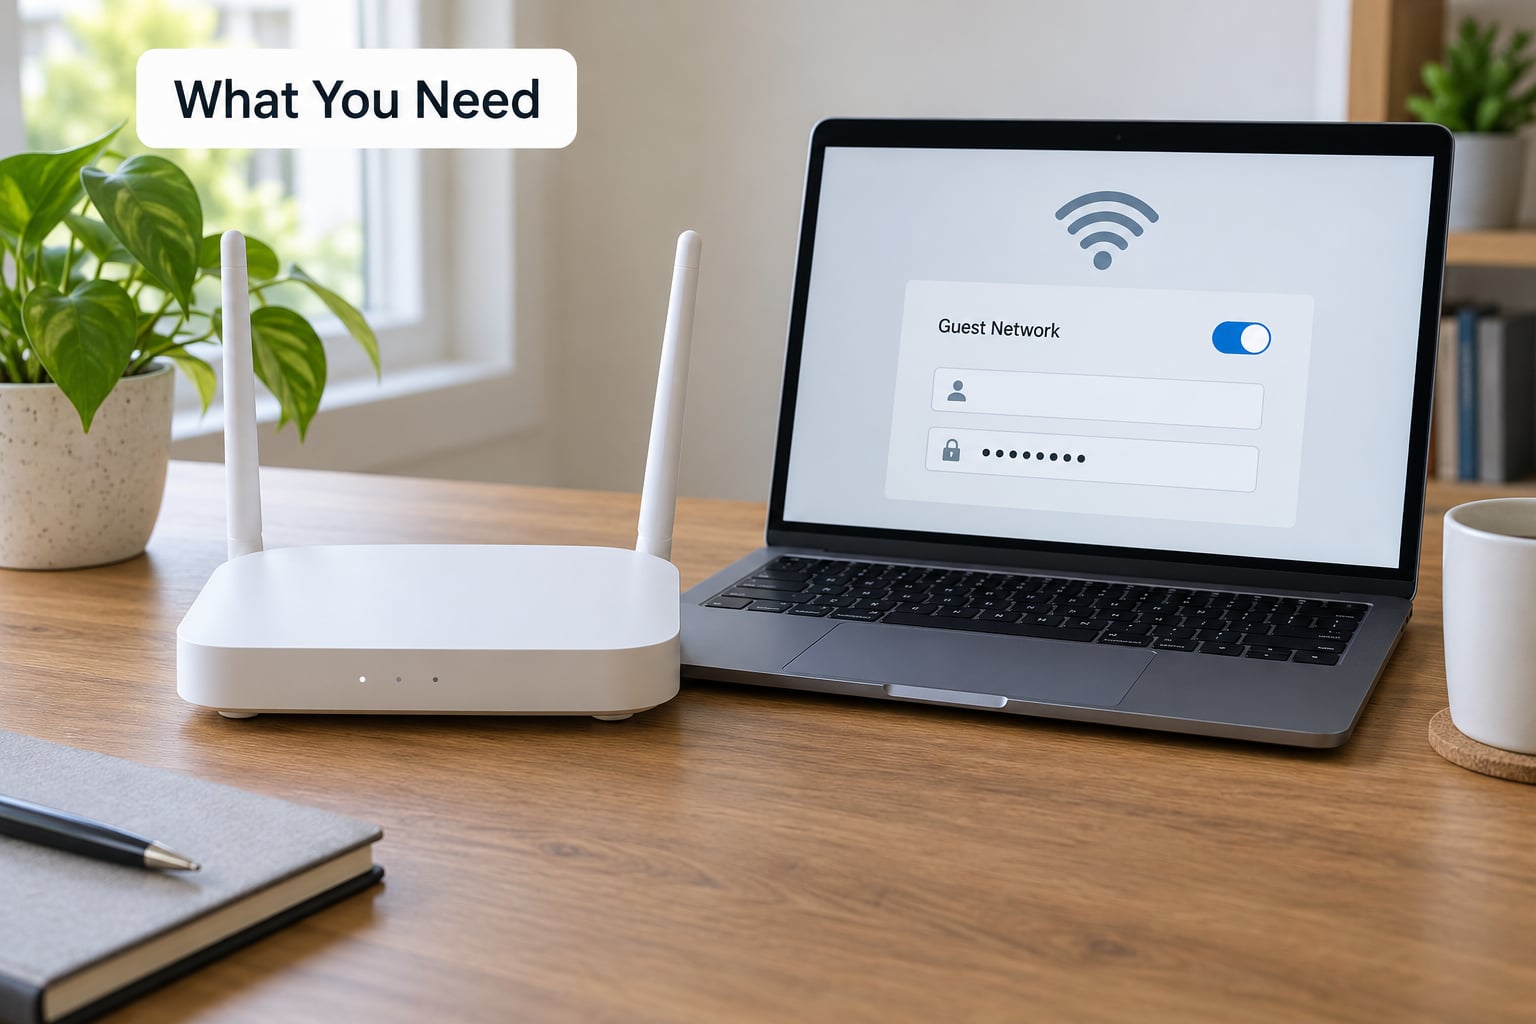
What You Need
You need four things, and you probably already have three of them:
- Your router and an internet connection that’s already working on it
- The administrator username and password, which are printed on a sticker on the bottom or back of the router
- A phone or laptop to test the result with
- The name and password of your current primary network
The admin password on that sticker is often the first thing to go. ISP gateways usually keep the printed default, but many standalone routers ship with a generated password on the label itself. Either way, you’re looking for something like admin and admin, or a string of letters and numbers.
If you can’t find the router or the sticker, you can usually get the admin address without it. Open a browser on a device connected to your WiFi and type 192.168.1.1 or 192.168.0.1. One of those two will load the admin panel on most home gear.
If neither address works, the router is doing something less common, like a brand-specific admin domain. The Xfinity, Spectrum, and AT&T apps all show you the panel directly instead of making you hunt for an IP address.
One thing worth checking first: does your router even have a guest feature? Most do, but a few ISP gateways hide it behind their app only, and some older or locked-down firmware versions simply don’t offer it. If you cannot find any guest option in the menu after a firmware update, the answer is usually a separate router plugged in behind the gateway.
Step-by-Step
Step 1: Sign In to Your Router’s Admin Panel
Connect a device to your main WiFi first, then open a browser and enter 192.168.1.1 or 192.168.0.1 in the address bar. If the panel loads, you will see a login screen asking for the administrator username and password.
Enter the credentials from the sticker. Many routers are case-sensitive, so copy them exactly rather than retyping.
Lost the password? Try the default admin and admin before resetting anything. If that fails, look for a small recessed reset pinhole on the router, hold it with a paperclip for about ten seconds, and the router returns to factory settings. That wipes any custom configuration you had, including port forwarding rules, so it is a last resort rather than a shortcut.
How you know it worked: you are inside a page with menu names like Wireless, Network, or Advanced Settings, not on your ISP’s marketing home page.
Step 2: Open the Guest Network Settings
Look for Wireless, WiFi, or Wireless Networks in the main menu, then click Guest Network. Some routers nest it under Advanced or Wireless Settings instead.
The wording changes with the manufacturer and firmware version, so if Guest Network is missing, search the admin panel’s help text for the word guest before concluding the feature is absent.
Still nothing? Update the router firmware. Guest options are frequently added or unhidden in firmware releases, and an update takes a few minutes with the power plugged in.
How you know it worked: you see an on/off toggle for the guest network, usually greyed out until you switch it on.
Step 3: Enable the Guest Network
Flip the toggle. The form fields below it will become editable.
Give the network a name people will recognise. Something like Guest, Guest Wifi, or House Guest works. Avoid putting your surname, street address, or anything else you would not hand to a stranger, because the network name is broadcast openly to anyone within range.
Then set a password. Make it different from your main network password. Sharing the same one means anyone who later learns your home WiFi password can walk straight onto the guest network, which defeats the purpose entirely.
For the security mode, choose WPA2-Personal or WPA3-Personal when the guest device supports it. WPA3 is stronger but older phones, printers, and IoT kit may fail to join, so WPA2-Personal is the safer default in a house full of mixed devices. Avoid Open or No Authentication unless you are running a captive portal.
Hide SSID is often sitting right next to these fields. Leaving it off is better. A hidden network does not stop anyone from connecting, it just makes joining harder, and phones and printers that cannot see the name cannot join at all.
How you know it worked: the guest network name appears in your phone’s WiFi list within a minute.
Step 4: Choose a Secure Wi-Fi Band
Modern routers broadcast two bands: 2.4 GHz and 5 GHz. 2.4 GHz reaches further and passes through walls better, which is why guests get a usable connection in the far bedroom. 5 GHz is faster over shorter distances because it has less interference.
If the panel offers a toggle for each band separately, turn both on unless you have a specific reason not to. A guest on a phone will pick 5 GHz automatically when they are close and drop to 2.4 GHz when they walk away, so you rarely have to say which to use.
If the panel asks you to publish both bands under a single name, that is the modern approach and it works fine. The exception is very old equipment, and some smart home devices that only support 2.4 GHz.
How you know it worked: a phone shows one network name and connects regardless of which room you are in.
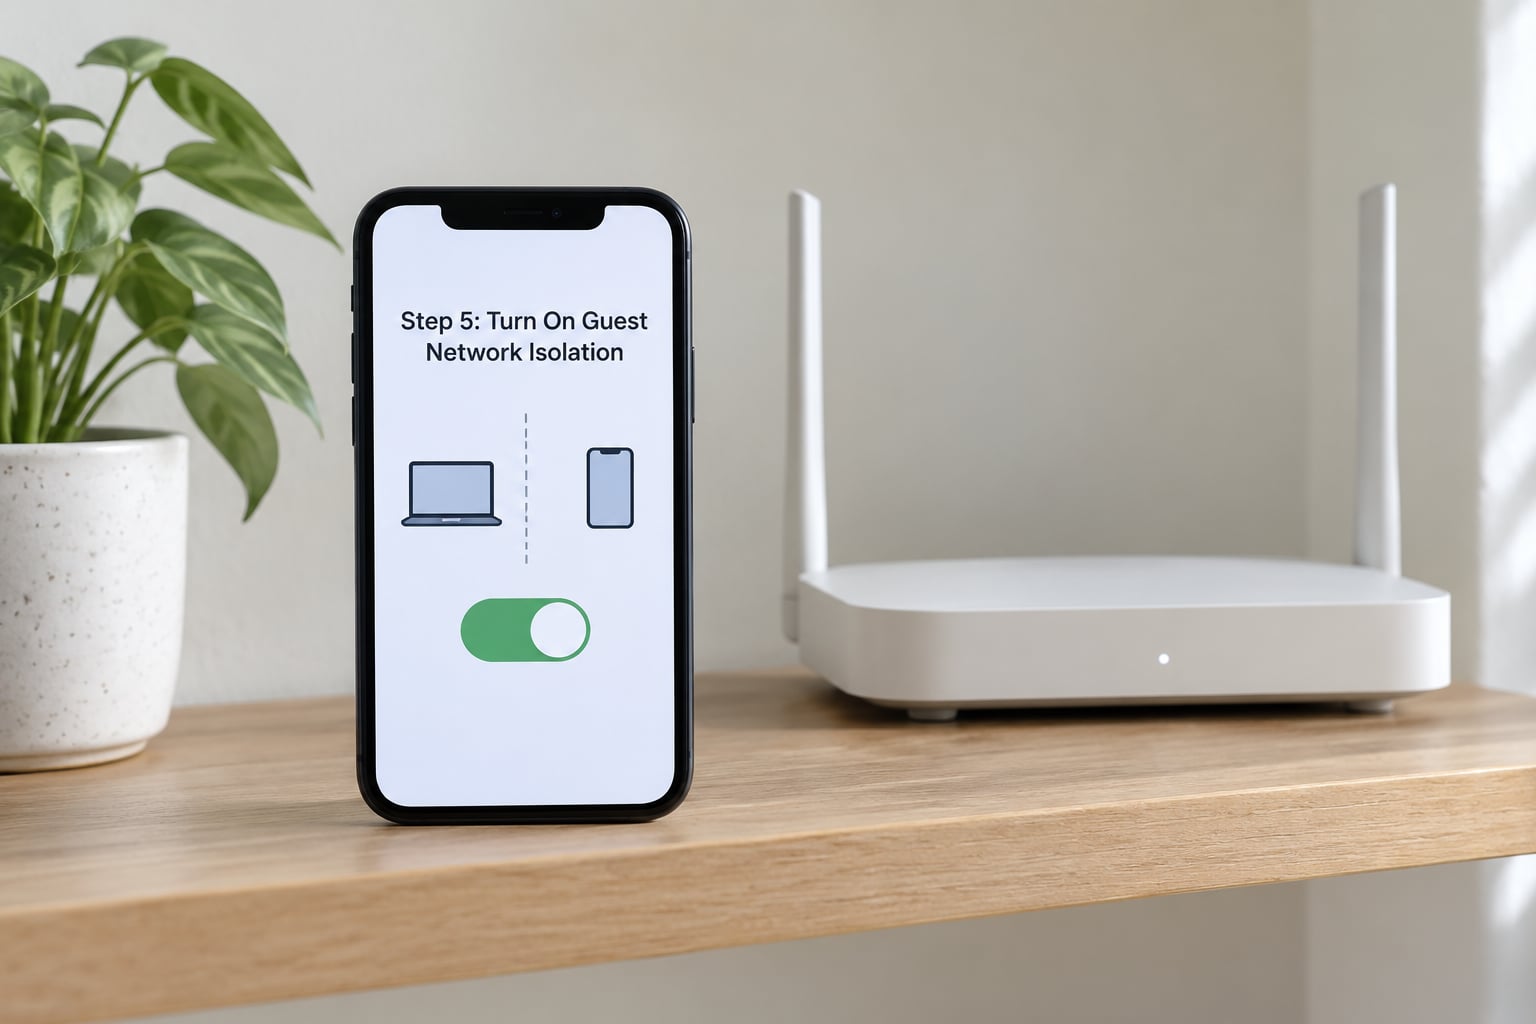
Step 5: Turn On Guest Network Isolation
This is the switch that makes a guest network a guest network. It is called Network Isolation, Client Isolation, AP Isolation, or sometimes Allow guests to access your local network, which is the same setting phrased backwards. On some routers it is labelled Access Intranet.
Turn it on. With isolation enabled, guests can reach the internet but cannot reach your computers, NAS, network printers, smart home hub, or your router’s own admin page.
This is not a formality. A guest device on the same network as a NAS can browse shared folders, and on a home setup the router admin panel is often reachable too. Without isolation, a guest network is basically a second password on the same open LAN.
One caveat. Guests also lose the things that make a house feel shared: printing to your wireless printer, casting to a screen, or a Home Assistant voice assistant answering from the other room. That is the tradeoff, and for most people it is the right one.
How you know it worked: after saving, a device on the guest network cannot open your router admin page at 192.168.1.1 or your NAS address.
Step 6: Save and Restart the Router if Required
Click Apply or Save Changes at the bottom of the page. Most routers reapply settings without a full restart, and the guest network appears on its own in under a minute.
Some routers ask you to reboot. Only do it if you’re prompted, and never interrupt a firmware update, because pulling power mid-update can leave the router unusable.
After the reboot, check your phone’s WiFi list. The guest network should still be there with the name and password you chose.
How you know it worked: the guest SSID is visible from a connected device and the password you set is the one it asks for.
Step 7: Connect a Device and Test the Separation
Join the guest network on a phone or laptop and open a website. Ordinary browsing should work normally, which is the first half of the test.
Now try to reach something private. Open a browser tab and enter 192.168.1.1, then try the web address of your NAS, media server, or printer. If isolation is doing its job, those attempts time out or return an error. If any of them loads a real page, the guest device is on your main network and you need to go back and recheck Step 5.
Then try reaching the router admin login from the guest device. A prompt asking for credentials is acceptable, because it means the block is working and nothing sensitive is exposed. A live dashboard showing device names and connected clients is not.
Finally, test that guests cannot see each other. With isolation on, one guest phone should not appear in the other’s device list or casting menu.
How you know it worked: websites load, private devices do not, and no guest device shows up in another guest device’s list.
Common Mistakes
The guest network is hidden from the list. Check that you didn’t enable Hide SSID, and that the toggle is on for the band you’re testing. On a mesh system the guest SSID is sometimes broadcast by the main node only, so test near the router first before assuming it’s broken.
Settings disappear after you save. Some firmware releases reset the guest configuration on every reboot. Re-enter the name, password, and isolation setting, and if it happens again, note your router model and firmware version, because it is a known behaviour on some models rather than something you did wrong.
Only one band appears. Both 2.4 GHz and 5 GHz usually need separate toggles enabled. If your guest device still can’t see the network, the hardware may be too old to handle both at once. Pick one band for the guest network.
Guests can reach private devices. Isolation is off, or a setting named Access Intranet or Allow guests to access your local network is switched on. Turn both off, save, and repeat Step 7.
A login page pops up unexpectedly. A captive portal on the guest network. Some routers force one, and portal logins can interfere with isolation. Look for a Portal, Splash, or Hotspot setting and disable it if you do not want it.
VPNs or smart devices drop on the guest network. Expected in most cases. Guest clients get internet access and little else, so a VPN may fail to reach your home network, and a casting device on the guest side cannot see your TV. Those devices belong on your main or IoT network, not on the guest one.
Before you hand over the password, run through this last check: the password is different from your main one, security is WPA2 or WPA3 rather than open, isolation is on, any bandwidth limit is high enough for video, and you know whether you have set an automatic shutdown time. That last option is worth using if the guest network only needs to be alive on weekends, or during a specific evening window.
Frequently Asked Questions
What does guest WiFi isolation do?
Guest WiFi isolation, also called client isolation or AP isolation, blocks devices on the guest network from talking to anything on your main network. Guests still reach the internet normally. What they cannot do is open your shared folders, find your network printer, or load the router admin page. Without it, a guest network is mostly a second password on the same open network.
Can guests on a guest WiFi network see my computer?
They should not be able to, as long as isolation is switched on. A guest device cannot browse your computer’s shared files or reach services running on it. Test this yourself by joining the guest network and trying to open your computer name or its IP address from a browser. If a page loads, isolation is off and you need to turn it back on in your router settings.
How do I stop guests from accessing my printer or NAS?
Keep Network Isolation, Client Isolation, or Access Intranet switched off in the guest settings, which sounds backwards but means guests cannot reach the local network. Then confirm nothing else reopens the door, such as a local network permission toggle set to allow. If you genuinely need one guest device to reach your printer or NAS, add a narrow rule for that single device rather than disabling isolation for everyone.
Do I need a special router to create a guest WiFi network?
No. Most routers sold since the mid-2010s include a guest network feature in the firmware, including many ISP gateways. If your admin panel has no guest option at all, update the firmware first. If it still does not appear, put a standalone router behind your ISP gateway and run that as your main router, with the guest feature on the standalone unit.
How can I turn guest WiFi off automatically?
Look for Access Time, Guest Schedule, or Time Limit in the guest network settings. You pick the hours the network is available, and the router switches it off outside that window, which is handy for short-term rental guests. When you want a new password for the next visitor, generate a fresh one in the same panel rather than reusing the old one, and check the network is off again when they leave.
Turn Isolation On First
If you only change one setting, change the isolation switch. A guest network with a strong password but no isolation still leaves your NAS, printer, and file shares one guess away.
The rest follows from there. Enable the guest feature, give it its own name and password, pick WPA2 or WPA3, and test with a phone before anyone walks through your door. That test takes two minutes and it is the only part of this whole guide that proves the work.