If you’re asking why is my mac running slow after an update, the honest answer is that a fresh macOS install starts a pile of background maintenance the moment it finishes installing. Spotlight rebuilds its search index across the drive, system daemons rewrite files into new formats, security checks rescan every installed app, and iCloud and Time Machine start syncing against the new system.
That work normally settles within 24 to 72 hours. The rest of this guide is about telling the difference between a Mac that is still settling and a Mac with a genuine problem, then fixing the second kind without reinstalling anything.
Table of Contents
- 1What You Need to Diagnose Why Is My Mac Running Slow After an Update
- 2Step-by-Step: Restore Your Mac’s Speed
- 31. Check Whether the Mac Is Still Finishing Update Work
- 42. Look for CPU, Memory, Disk, and Network Bottlenecks
- 53. Restart and Reopen Only the Essential Apps
- 64. Check for an App or Extension Update Problem
- 75. Free Up Storage and Reduce Background Work
- 86. Update, Reinstall, or Reset the Affected App
- 97. Check Whether macOS Has a Known Issue
- 108. Know When to Use Safe macOS Recovery
- 11Common Mistakes That Make a Mac Slower
- 12Frequently Asked Questions
- 13How long should Spotlight indexing take after an update?
- 14My MacBook Spotlight indexing is stuck. How can I fix it?
- 15Do updates make a Mac slower?
- 16Why is my Mac so laggy after updating?
- 17How do I free up disk space on my Mac?
- 18How do I clear the cache on my Mac?
- 19Conclusion: What to Do First
What You Need to Diagnose Why Is My Mac Running Slow After an Update
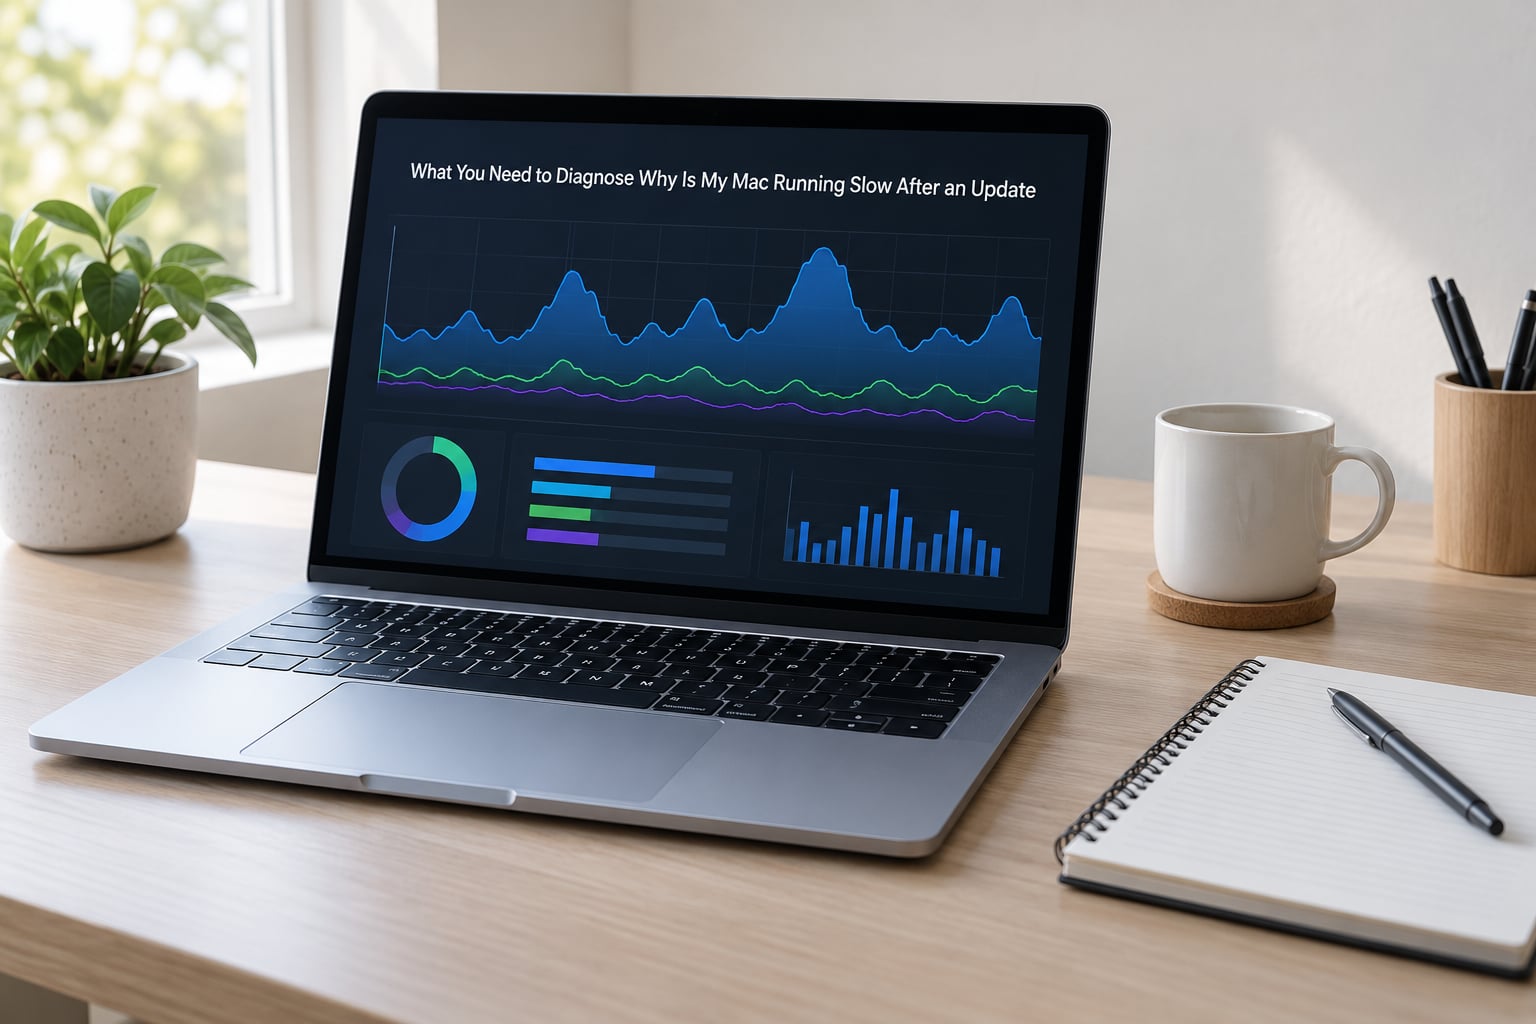
You need very little, but the two things worth having ready make the whole process faster.
- A recent backup. Time Machine on Apple silicon Macs creates local snapshots automatically, and those are not a substitute for a real backup. If your Mac is an Intel model, check that your Time Machine destination disk is actually connected and that the last backup finished.
- Activity Monitor. Open it from Applications > Utilities, or press Command plus Space, type Activity Monitor, and hit Return. This is the only tool that tells you what is actually eating the machine.
- The update date. System Settings > General > Software Update shows when the current macOS version was installed. Write it down; almost every decision below depends on how long ago that was.
- Your free storage number. Apple menu > System Settings > General > Storage, or About This Mac. Note both the free space and the total.
- 30 to 60 minutes of quiet time. Some checks need the machine to sit and burn CPU so you can watch whether usage falls off. Plug it in first; performance testing on battery gives you misleading numbers.
Nothing here is destructive, so it is safe to start before you finish reading.
Step-by-Step: Restore Your Mac’s Speed
1. Check Whether the Mac Is Still Finishing Update Work
This is the step most people skip, and skipping it is why they end up reinstalling macOS for no reason. After a major update, the system runs first-boot maintenance: it verifies and optimises the new system files, migrates caches and preferences to new formats, and builds the Spotlight index from scratch.
Check System Settings > General > Software Update. If a pending update is still listed or installing, let it finish before you judge anything. If macOS is prompting you to restart to finish installing an update, take the prompt instead of dismissing it.
How to tell it worked: leave the Mac plugged in and awake for two to three hours, ideally overnight, and come back to it. If it feels noticeably quicker the next morning, that was the whole problem.
2. Look for CPU, Memory, Disk, and Network Bottlenecks
Open Activity Monitor and look at the tabs in this order: CPU, Memory, Energy, Disk, Network. Sort each view by the column that shows the percentage, and watch the top row for a minute rather than taking a single reading.
What you are likely to see right after an update:
- mds and mds_stores are Spotlight’s indexer. Heavy CPU and disk use from these two is normal for a day or two after a major update. If mds_stores sits at high memory use for more than a few days with no activity on your part, that is a stuck index, and step 7’s reindex procedure applies.
- kernel_task at high CPU usually means thermal throttling: the Mac is hot and is deliberately capping the chip. That points at airflow, a blocked vent, or a fan problem rather than the update.
- WindowServer spiking means something is driving the display hard, often an app redrawing constantly.
- A specific app or helper pinned near the top is your culprit. Write the name down, because it changes everything in step 4.
How to tell it worked: a healthy Mac at rest sits mostly idle, with mds and mds_stores dropping to near zero once indexing finishes. If the same process stays pinned for hours, indexing is not the explanation.
3. Restart and Reopen Only the Essential Apps
Save your work and restart from the Apple menu. This is not a cop-out; it is the single most effective fix for post-update slowness, because it clears stuck processes, frees swap files, and lets the memory pressure graph reset.
After the restart, deliberately open fewer apps than usual. On an 8GB Mac, every open app and browser tab takes a real slice of unified memory, and once you run out the system starts swapping to disk, which feels exactly like a slow computer.
How to tell it worked: if the Mac stays fast for an hour with only your essentials open, the update itself was fine and the old session was the problem. If it slows again the moment you reopen everything, you have a workload issue, not an update issue.
4. Check for an App or Extension Update Problem
The most common genuine complaint after a macOS update is not macOS at all. It is a third-party app, a browser extension, a VPN client, security software, or a menu bar utility that was built for the previous version of the system and now behaves badly.
Open System Settings > General > Login Items & Extensions. You will see items that reopen at login and background extensions contributed by apps. Disable them in batches: turn off everything that is not a login item you genuinely need, restart, and see how the Mac behaves.
Then test your browser. Extensions are the usual suspects when Safari or Chrome stutters, hangs on a page, or spins the beachball. Open a private or guest window with extensions disabled, and compare.
How to tell it worked: if performance recovers with items disabled, re-enable them one at a time, a few at a time, until the slow one shows itself. Then check the developer’s site for a compatibility update.
5. Free Up Storage and Reduce Background Work
Check Apple menu > System Settings > General > Storage. Keep at least 10 to 15 percent of the drive free, and treat roughly 25GB as a practical floor on smaller machines.
Updates are not the only thing eating space. Look at System Data, which usually includes Time Machine local snapshots and cached iPhone and iPad backups from MobileSync, plus the staged installer files from the update you just installed. Those are safe to clear once your real backup is verified.
Clean up downloads and old installers, and avoid deleting system files, anything inside /System, or files you cannot identify. If you are not certain what a folder does, move it to the Trash rather than emptying it, so you can put it back.
How to tell it worked: watch the free space number in About This Mac before and after. A Mac that was scraping along near full will show noticeably faster launches and app switching once it has real headroom again.
6. Update, Reinstall, or Reset the Affected App
If one specific app is the problem, work up the ladder in order rather than jumping to a factory reset.
- Check for an app update. Open the App Store and hit Update, or check the developer, since some apps update outside the store.
- Restart the app. Quit it fully with Command plus Q, or force quit with Option plus Command plus Escape, then reopen it.
- Reinstall from the developer’s official source. Download a fresh copy from the developer or the App Store rather than reusing the old installer.
- Reset preferences last. Some apps ship a reset command inside the app menu or a preference file in Library > Preferences. Do this only after your data is backed up, because it usually logs you out and discards settings.
How to tell it worked: the app launches and behaves normally for several sessions. If it stays broken no matter which version you install, the fault is more likely on the macOS side, and step 8 applies.
7. Check Whether macOS Has a Known Issue
Apple publishes release notes with known issues for every macOS version, and Apple support communities and Reddit threads often surface problems before the documentation catches up.
What users have reported around the macOS Tahoe 26.x releases: file uploads became extremely slow in some setups, with the workaround being to move an upload out of a browser tab; Safari and Chrome sometimes hang or crawl; and owners of M1 MacBook Air models attributed persistent sluggishness to the new Liquid Glass interface adding GPU and memory overhead. Separately, r/MacOSBeta threads point to a Spotlight bug where mds_stores consumed excessive memory, and r/macbookpro users on an 8GB M3 MacBook described noticeably lower response after installing a beta.
Two honest caveats. Beta channels are slower and less stable than release builds by definition, so if you are on a beta, that is your first suspect and the correct fix is to install the current release. And a specific app being blamed for a macOS problem is often the app’s fault, not Apple’s, which is why step 4 comes before this one.
If you suspect a genuine regression, install Feedback Assistant from the App Store and send the diagnostic data with your report. Apple uses those reports to track performance regressions that never make it into the release notes.
8. Know When to Use Safe macOS Recovery
A safe mode boot is a good diagnostic. On Apple silicon, shut down, hold the power button until startup options appear, then hold Shift and click Continue in Safe Mode. On Intel, restart and hold Shift as the machine begins booting. Safe Mode loads only essential extensions, so if the Mac is fast in safe mode, the cause is a login item, extension, or background tool rather than macOS itself.
If safe mode is fast but normal startup is slow, go back to step 4 and trim login items and extensions. If both are slow, move up the ladder.
Next is a clean reinstall of macOS. Erase the drive and reinstall from Recovery, which is reached on Apple silicon by holding the power button until startup options appear, then holding Command plus R, and on Intel by holding Command plus R at boot. This preserves your files if you choose the right option, but back up first regardless. Before that, confirm it is worth it by checking disk health in Disk Utility > First Aid, and running Apple Diagnostics on Apple silicon by shutting down and holding the power button plus Command plus Option plus Shift.
At this point, stop fixing software. If a drive reports failing S.M.A.R.T. status, if First Aid finds errors it cannot repair, or if the Mac is slow with a fully empty Activity Monitor, the problem is hardware and no reinstall will touch it.
Common Mistakes That Make a Mac Slower
- Deleting caches while indexing is running. Clearing caches mid-index forces macOS to rebuild work it just finished. Fix: let indexing complete, or skip cache clearing entirely unless a developer tells you to clear one specific cache for a specific problem.
- Installing paid Mac cleaner utilities. Users are rightly suspicious of these. The ones that strip caches and launch agents can remove things macOS needs, and forum reports of slowdowns after installing one are common. Fix: use the built-in Storage settings and login item controls.
- Force quitting processes constantly. Repeated force quits leave orphaned helpers running and make the next launch slower. Fix: quit normally with Command plus Q, and restart instead of force quitting when the whole machine is sluggish.
- Updating every app at once. If several apps update simultaneously with macOS, you lose the ability to tell which one broke. Fix: update macOS first, restart, then update apps one at a time.
- Running a beta on your main machine. Betas ship with performance regressions that release builds do not. Fix: if you installed a beta and your Mac has been sluggish since, move back to the current release.
- Reinstalling macOS without a backup. Reinstalling over data is safe, but it can still surface data loss from failing drives. Fix: verify your backup restores, then reinstall.
Frequently Asked Questions
How long should Spotlight indexing take after an update?
On a typical Mac, a post-update Spotlight index takes a few hours and usually finishes inside 24 to 48 hours. Larger drives with lots of files, or Macs syncing iCloud Photos at the same time, can push it to 72 hours. If mds_stores keeps running at high CPU and high memory well past three days while you are not doing anything, the index is stuck rather than busy. Watch the CPU tab in Activity Monitor: normal indexing spikes and falls, a stuck index sits flat.
My MacBook Spotlight indexing is stuck. How can I fix it?
Open System Settings u0026gt; Spotlight and click the Privacy button. Add a drive or folder you do not mind indexing, click the minus button to remove it, and repeat. Each add and remove nudges Spotlight into rebuilding its index. Restart the Mac afterwards and let it run for several hours. If mds_stores is still pinned after that, rebuild the index from the Terminal with sudo mdutil -a -E, which forces a full reindex of every volume.
Do updates make a Mac slower?
For the first day or two, yes, and that is expected. A macOS install triggers index rebuilding, file migration, app compatibility checks and cloud sync, all of which load the CPU, disk and fan. Steady state after the 24 to 72 hour settling window is usually no slower than before, and security updates can genuinely improve performance on older machines. Persistent slowness past that window points to an incompatible app, low free storage, or a hardware problem rather than to the update itself.
Why is my Mac so laggy after updating?
In most cases a macOS update replaces system files and then rebuilds everything that indexes or caches them, which loads the machine heavily for the first day or two. Other common causes are third-party apps that have not been updated for the new version, login items that are heavier than expected, and a drive that has run out of free space. Check Activity Monitor first: the process at the top of the CPU list tells you which of these it is in about ten seconds.
How do I free up disk space on my Mac?
Open Apple menu u0026gt; System Settings u0026gt; General u0026gt; Storage and read the bar before you delete anything. System Data is usually the biggest reclaimable block, because it holds Time Machine local snapshots, cached iPhone and iPad backups from MobileSync, and staged update installers. Large Downloads, old Documents, and applications you no longer use come next. Keep at least 10 to 15 percent of the drive free, and about 25GB as a practical floor on smaller machines.
How do I clear the cache on my Mac?
Quit the app first, then reopen Finder, hold Option, click Go in the menu bar, and choose Go to Folder. Enter ~/Library/Caches and press Return, move the app folders you want to clear into the Trash, then empty it. The same works for Safari through Settings u0026gt; Advanced u0026gt; Show Features u0026gt; Website Data. Clearing caches while Spotlight is indexing makes things slower, not faster, so time it after the settling window. Avoid paid cleaner utilities that strip launch agents macOS relies on.
Conclusion: What to Do First
Start with three things, in this order. First, check when the update finished and let background work run for a day or two before you change anything. Second, open Activity Monitor and read the top of the CPU, Memory and Disk lists, because that tells you whether you are looking at indexing or at a specific application. Third, restart the Mac and reopen only the apps you need.
If it is still slow after that, disable login items and extensions, check your free storage, and then reinstall the one app that misbehaves. Back up your data before you reinstall macOS or touch anything in Recovery, and stop at the point where the Mac is slow with an idle Activity Monitor, because at that stage you are looking at hardware rather than software.